
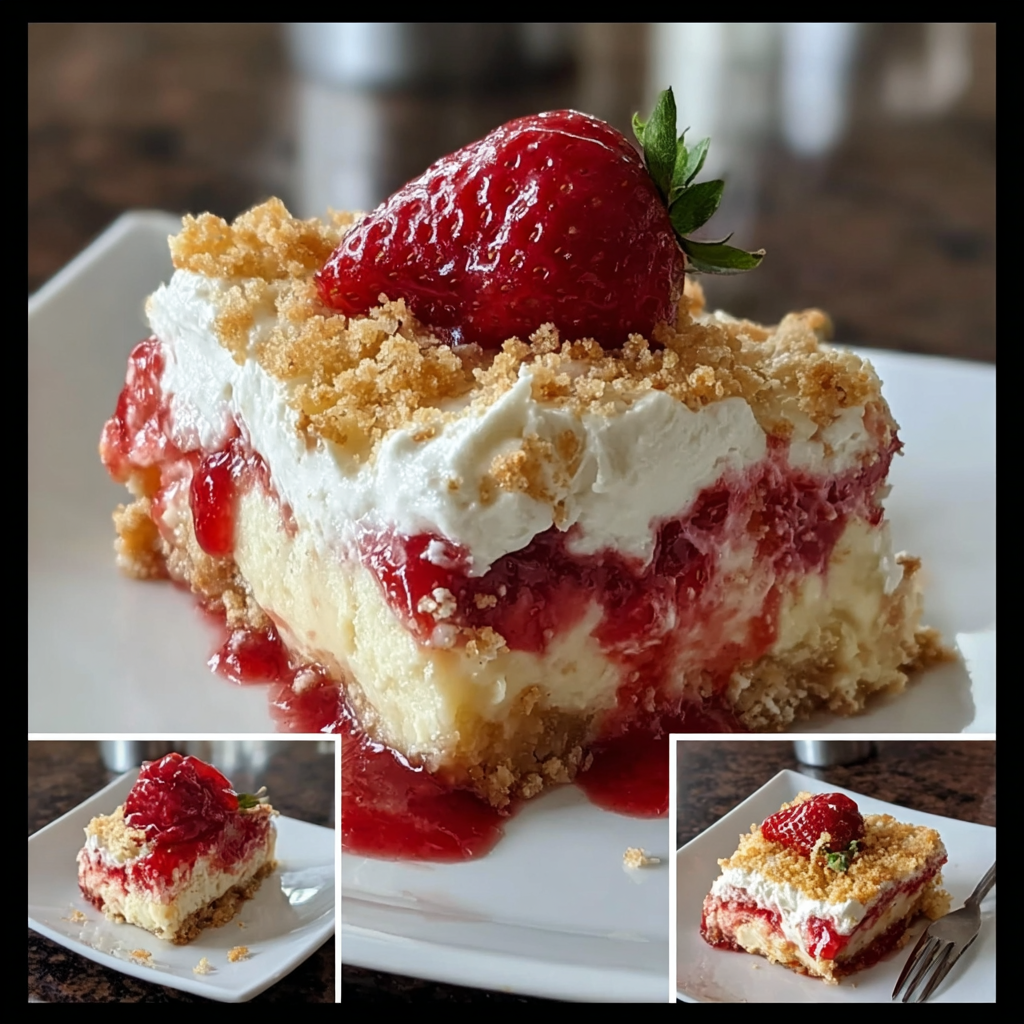
A Delightful Strawberry Cheesecake Dump Cake
Hello there! If you’re in the mood for something that combines creamy, fruity, and crumbly textures all in one dessert, you’ve come to the right place. Today, I’m excited to share with you a super simple recipe for Strawberry Cheesecake Dump Cake! This is one of those dreamy treats that’s perfect for gatherings, potlucks, or just to satisfy that sweet tooth at home. With just a few easy steps and some common ingredients, you can whip up a dessert that will have everyone asking for seconds!
Nutritional Benefits
Let’s talk a little about what makes this dessert not just delicious but also a bit of a *win* for your taste buds! While this is definitely a treat, strawberries are loaded with vitamin C and antioxidants, which can promote healthy skin and boost your immune system. And we can’t forget about the cream cheese—while it’s rich, it does provide some calcium and protein! Just remember, moderation is key when enjoying this delightful dessert.
Fun Variations to Make
Feel free to make this recipe your own! Here are a few variations that might inspire you:
- Berry Blend: Instead of just strawberries, mix in other berries like blueberries or raspberries for a colorful treat!
- Nutty Topping: Consider adding some chopped nuts, like pecans or almonds, to the cake mix topping for an extra crunch.
- Chocolate Lover’s Dream: Drizzle some chocolate sauce over the whipped cream for an indulgent twist.
- Gluten-Free Option: Swap the yellow cake mix for a gluten-free version to accommodate those with dietary restrictions.
- No-Cream Cheese: I’m a fan of Greek yogurt for a lighter feel; just make sure it’s plain to avoid altering the flavor too much.
Your Step-by-Step Recipe
Ingredients
- 2 cups graham cracker crumbs
- 1/2 cup unsalted butter, melted
- 1/4 cup granulated sugar (for crust)
- 16 oz (2 cups) cream cheese, softened
- 1 cup granulated sugar (for cheesecake)
- 2 large eggs
- 1 tsp vanilla extract
- 1 can (about 21 oz) strawberry pie filling (or 2 cups fresh strawberries mixed with 1/4 cup sugar and 1 tbsp cornstarch)
- 1 box (15.25 oz) yellow cake mix (dry)
- 1/2 cup unsalted butter, melted (for topping)
- Whipped cream, for serving
- Fresh strawberries, for garnish
Serves 10–12 people
- Standard slice size → about 12 servings
- Slightly larger slices → around 10 servings
Instructions
- Preheat your oven to 350°F (175°C). Get ready for some deliciousness!
- In a medium bowl, mix together the graham cracker crumbs, 1/2 cup of melted butter, and 1/4 cup of sugar. Press this mixture evenly into the bottom of a 9×13-inch baking dish to form a lovely crust.
- In a large mixing bowl, beat the softened cream cheese until it’s nice and smooth. Then, add in the 1 cup sugar, eggs, and vanilla extract. Keep mixing until it’s all creamy and blended.
- Spread that delightful cheesecake mixture evenly over your crust. This is where the magic starts to happen!
- Spoon the strawberry pie filling on top of the cheesecake layer. If you’re using fresh strawberries, just ensure they’re mixed well with the sugar and cornstarch before spreading.
- Now, evenly sprinkle the dry yellow cake mix over the strawberry layer. Then, drizzle the remaining 1/2 cup melted butter on top—this will create a scrumptious, crumbly topping.
- Pop it into the oven and bake for about 50-60 minutes, or until the topping is golden brown and the filling is bubbly. It smells heavenly in there!
- Once baked, let it cool completely at room temperature. For the best results, refrigerate it for at least 2 hours to set. Patience is key!
- When ready to serve, top each piece with a dollop of whipped cream and garnish with fresh strawberries. Slice, serve, and enjoy the burst of flavors!
Practical & Valuable Tips
- If you love a thicker crust, consider using a little extra graham cracker crumbs and butter!
- Store any leftovers in an airtight container in the fridge; it should stay fresh for about 3-4 days—if it lasts that long!
- For serving, let it chill in the fridge before cutting. This will help the layers hold together for prettier slices.
- The dessert can be made a day in advance, making it a great choice for parties or gatherings.
- You can modify the sugar content in the cheesecake mixture by using a sugar substitute if you’re watching your sugar intake.
Equipment Needed
To make your baking experience as smooth as possible, here’s what you’ll need:
- A 9×13-inch baking dish—this is ideal for holding all those luscious layers.
- Mixing bowls, both small and large will do!
- A whisk or electric mixer for that creamy cheesecake mixture.
- A spatula to spread the mixtures and clean up the bowl.
- A measuring cup for accurate ingredients—trust me, it helps!
- A rubber scraper to ensure none of that deliciousness gets left behind.
Frequently Asked Questions
- Can I use frozen strawberries instead of fresh? Absolutely! Just be sure to thaw them and drain excess liquid before using.
- Is this dessert best served cold or at room temperature? It’s great both ways! I personally enjoy it chilled for the creamy texture.
- Can I make this dessert vegan? You can substitute cream cheese with a vegan version and use flax eggs or applesauce as an egg replacement.
- How can I make it more chocolatey? Try adding chocolate chips to the cheesecake layer before spreading it over the crust!
- What’s the best way to store leftovers? Keep it covered in the fridge. Just make sure to consume it within a few days for the best taste!
So, are you ready to try this scrumptious Strawberry Cheesecake Dump Cake? I can’t wait to hear how your baking adventure goes! Snap a pic of your masterpiece and share it on Pinterest. And feel free to drop in with questions or share your favorite variations—I love connecting with fellow baking enthusiasts!
