
Hello, fellow baking enthusiast! If you’re anything like me, you probably have fond memories of indulging in delicious pop tarts. But can we take a moment to appreciate how fun it is to make those flavors come alive in cookie form? I’m excited to share this delightful recipe for Strawberry Pop Tart Sugar Cookies with you. They’re cute, tasty, and perfect for snacking or sharing!
Nutritional Benefits
Now, let’s talk about why these cookies can be a bit more special than a store-bought treat. By making them at home, you have control over the ingredients—you can use high-quality butter, and fresh fruit spreads, and reduce the amount of sugar if you choose. And hey, butter brings with it healthy fats, which can be beneficial in moderation! If you replace the jam with a lower-sugar or homemade version, you’re making a treat that’s crafted just the way your taste buds want it!
Adaptable Variations to Make
- Flavor Swaps: Not a fan of strawberry? Go wild with different jams like raspberry, blueberry, or even chocolate hazelnut spread!
- Make it Vegan: Swap the butter for coconut oil or a vegan butter substitute and use flax eggs instead of the egg for a plant-based option.
- Gluten-Free Option: You can easily switch out the all-purpose flour for a gluten-free flour blend. Just make sure to use a blend that contains xanthan gum!
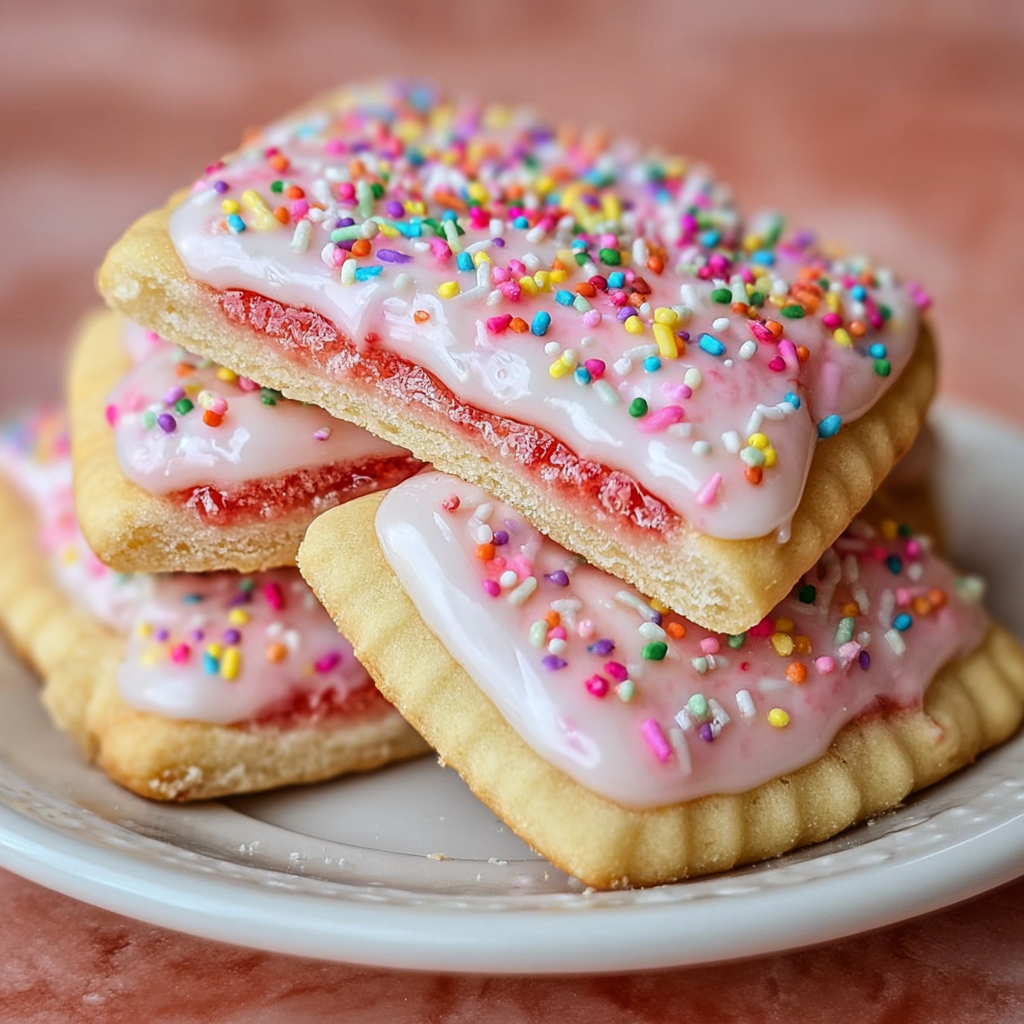
Sweet and Fun Strawberry Pop Tart Sugar Cookies Recipe
Ingredients
- 1 cup unsalted butter, softened
- 1 cup granulated sugar
- 1 large egg
- 1 teaspoon vanilla extract
- 2 ½ cups all-purpose flour
- ½ teaspoon baking powder
- ½ teaspoon salt
- ½ cup strawberry jam (or your preferred fruit jelly)
- 1 cup powdered sugar
- 2-3 tablespoons milk (for icing)
- Food coloring (pink or red)
- Sprinkles (multicolored)
Serves 12–16 cookies
Standard portions → 12 cookies
Slightly smaller portions → up to 16 cookies
Cooking Instructions
- Start by preheating your oven to 350°F (175°C) and line a baking sheet with parchment paper. This way, your cookies won’t stick!
- In a large mixing bowl, cream together your softened butter and sugar until it’s light and fluffy. This creates that perfect texture.
- Beat in the egg and vanilla extract until well combined. I love how the vanilla smells while you mix!
- In a separate bowl, whisk together the flour, baking powder, and salt to combine all the dry ingredients.
- Gradually add those dry ingredients to the wet mixture, mixing until your dough starts to come together—this can get a little messy, but that’s half the fun!
- Once your dough is mixed, divide it in half and wrap each half in plastic wrap. Refrigerate for about 30 minutes to firm it up—this will make it easier to roll out.
- After chilling, roll out the dough on a floured surface to about ¼ inch thick, and get ready to cut out some fun shapes!
- Use a cookie cutter to cut out rectangles or any shapes you prefer. Get creative here!
- Place half of the cutouts on the prepared baking sheet and add a teaspoon of strawberry jam to the center of each cutout.
- Top those jam-filled cutouts with another cutout and press the edges together to seal them. You can use a fork to crimp the edges for an adorable finish!
- Pop them into the oven for 10-12 minutes, or until the edges are lightly golden. They’ll fill your kitchen with the sweetest aroma!
- Remove them from the oven and let your cookies cool completely on a wire rack.
- For icing, mix powdered sugar with 2-3 tablespoons of milk in a medium bowl until smooth. If you want some color, add a few drops of pink food coloring!
- Once your cookies are cool, spread the pink icing on each cookie and sprinkle on those colorful sprinkles while it’s still wet.
- Allow the icing to set fully before indulging. Trust me; it’s worth the wait!
Practical & Valuable Tips
- Keep the dough cold! If it gets too warm while working, pop it back in the fridge for a few minutes before rolling it out.
- These cookies store beautifully in an airtight container. They’ll stay fresh for about a week—if they last that long!
- To prevent overbaking, check them a minute or two before the suggested time. You want them just set!
Equipment Needed
Here’s what you’ll need to make these sweet cookies:
- A large mixing bowl
- A whisk and a spatula for mixing
- Parchment paper for the baking sheet
- A rolling pin for rolling out dough
- Cookie cutters in your favorite shapes
- A wire rack for cooling cookies
- A medium bowl for icing and a spoon to mix
Frequently Asked Questions
- Can I use unsweetened jam? Using sweet jam is key for that pop tart flavor, but you can mix jam with a bit of sugar if you love a sweeter taste!
- What if I don’t have cookie cutters? No worries! You can use a knife to cut shapes or even use the rim of a glass.
- Can I store leftover jam? Absolutely! Just make sure to store any extra jam in the fridge in a sealed jar for later use.
- What icing alternatives can I use? You can top them with chocolate ganache or a simple glaze made from powdered sugar and lemon juice as a tangy twist!
- How can I make these cookies more festive? Add seasonal sprinkles or dyes to match holidays, or even fun shapes for birthdays!
So, there you have it! A fun and whimsical way to enjoy the flavors of your childhood in cookie form. I’d love to hear how your Strawberry Pop Tart Sugar Cookies turn out—don’t forget to share your creations with me on Pinterest! Let’s spread the joy of baking together!
