
Welcome to Your New Favorite Snack!
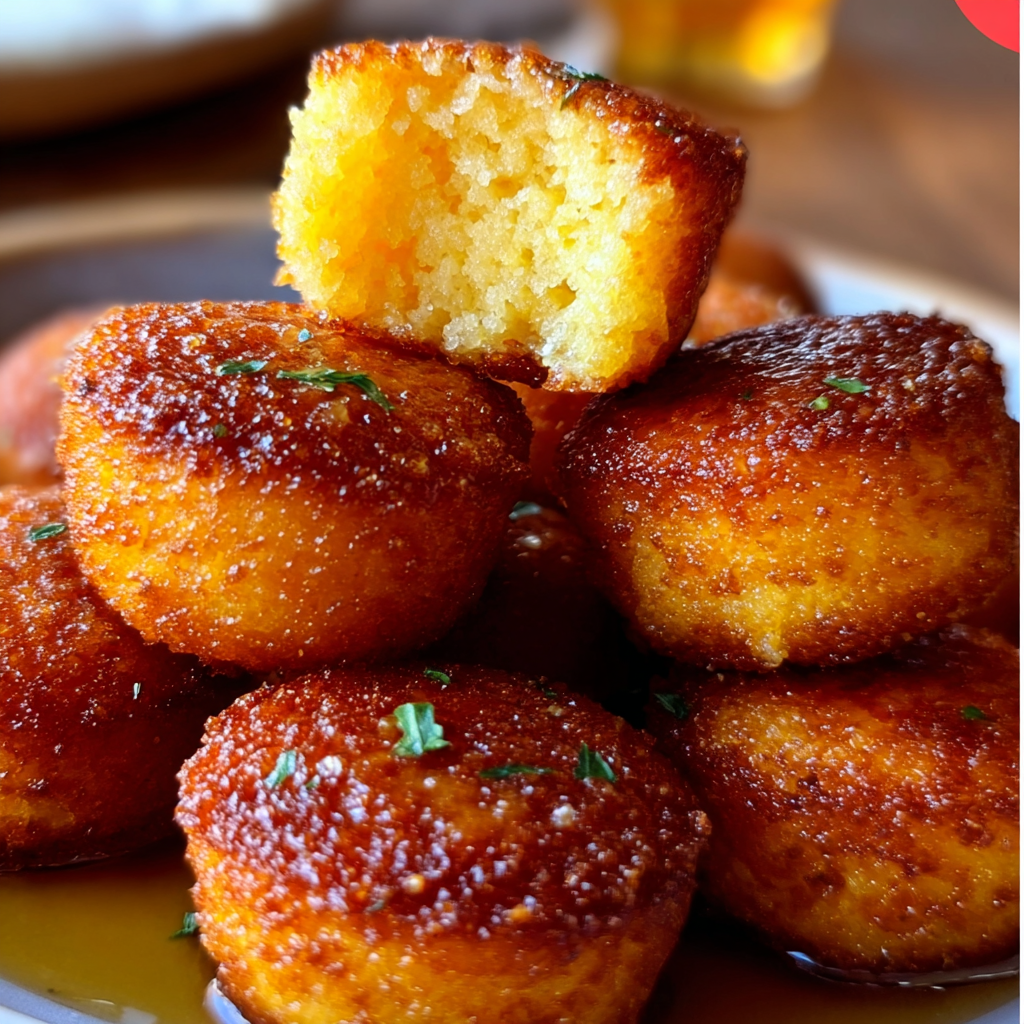
Hello, my friends! Have you ever craved that golden goodness of cornbread but just wanted something bite-sized and cute? Well, I totally get you! That’s why I’m excited to share my mini cornbread poppers recipe with you today. They’re fluffy, sweet, and perfect for an afternoon snack or a side dish at dinner. Let me tell you, once you whip these up, you and your loved ones won’t be able to resist them!
The Joy of Homemade Cornbread Poppers
Homemade snacks can be so much better than store-bought—especially when they’re this easy! Besides being absolutely delicious, cornbread poppers offer some surprising nutrition benefits. Cornmeal is a great source of whole grains, which means it contributes to heart health and provides energy. Plus, you get the wonderful combination of protein from the eggs and calcium from the buttermilk. So, you can feel good about enjoying these little treats!
Delicious Adaptable Variations
- Cheesy Poppers: Want to switch it up? Add some shredded cheese (like cheddar or pepper jack) into the batter for a cheesy twist that’s irresistible!
- Herby Delight: Toss in some chopped chives or green onions to give your poppers a fresh, savory flavor that will complement many meals.
- Spicy Kick: If you’re feeling adventurous, add a dash of cayenne pepper or some diced jalapeños. This will give your cornbread a delightful spice!
- Dairy-Free Option: Use a dairy-free milk such as almond or oat milk in place of buttermilk, and substitute with coconut oil for the melted butter.
The Easy Mini Cornbread Poppers Recipe
Ingredients
- 1 cup yellow cornmeal
- ½ cup all-purpose flour
- ⅓ cup granulated sugar
- 1 teaspoon baking powder
- ½ teaspoon baking soda
- ½ teaspoon salt
- 2 large eggs
- 1 cup buttermilk
- ⅓ cup unsalted butter, melted (plus extra for glaze)
- ¼ cup honey (plus extra for glaze)
Instructions
- First things first—let’s preheat that oven to 375°F (190°C) and give a mini muffin pan a generous greasing with butter. We want to make sure they come out easily!
- In a large bowl, grab your whisk and start mixing the cornmeal, flour, sugar, baking powder, baking soda, and salt until combined.
- In another bowl, beat those eggs until they’re frothy, then add in the buttermilk, melted butter, and honey. Mix all of that goodness together well.
- Pour the wet mixture into the dry mixture. Now, gently fold everything together. Just combine until you can’t see any dry flour. Remember, don’t overmix—it’s okay if it’s a little lumpy!
- Spoon the batter into your prepared mini muffin pan, filling each cup about 3/4 full. Leave a little room for them to puff up!
- Now, let’s pop them in the oven and bake for about 12-15 minutes, or until the tops are golden brown and a toothpick comes out clean from the center.
- While those are baking, melt some extra butter in a bowl and mix in honey to create a delicious glaze.
- Once they’re out of the oven, brush or dip the warm cornbread poppers in the honey butter glaze to coat every side. Yum!
- Transfer to a wire rack to cool a bit, letting that glaze set before serving. Enjoy these tasty treats warm!
Helpful Tips for Serving and Storing
- These poppers are best enjoyed fresh and warm, but you can store any leftovers in an airtight container for up to 2 days. Just warm them up in the microwave or oven before serving!
- If you want to prepare them in advance, you can make the batter the night before and store it in the fridge. Just give it a gentle mix before you fill the muffin pan and bake.
- If you need to make a larger batch for a gathering, double the recipe and use a standard muffin pan! Just adjust the baking time slightly, usually adding a few more minutes.
Essential Equipment Needed
Here’s what you’ll need to whip up your mini cornbread poppers:
- Mini muffin pan (you can also use a regular-sized muffin pan if you prefer bigger bites)
- Mixing bowls (one large for dry ingredients and one middle-sized for wet ingredients)
- Whisk and spatula or wooden spoon for mixing
- Measuring cups for precise ingredient amounts
- Toothpicks to test for doneness and a wire rack to cool the poppers
Frequently Asked Questions
- Can I use regular milk instead of buttermilk? Well, if you don’t have buttermilk, you can make a quick substitute by adding 1 tablespoon of vinegar or lemon juice to a measuring cup and filling it with regular milk to 1 cup—let it sit for about 5 minutes!
- How can I know when they’re done baking? Stick a toothpick in the center. If it comes out clean or with a few moist crumbs, they’re done!
- Can I freeze these poppers? Totally! Just let them cool completely, then place them in an airtight container or a freezer bag for up to 3 months. Thaw them out before warming them up.
- What can I serve with these? These mini cornbread poppers are fantastic alongside chili, soups, or barbecued dishes. They also make great party snacks!
- Can I change the sweetness level? Of course! You can reduce the sugar for a less sweet version or add extra honey to the glaze for those with a sweet tooth.
Join the Fun!
I hope you enjoy making these delightful mini cornbread poppers as much as I do! They add a little sweet charm to every meal. If you do try this recipe, please share your experience with me! You can find me on Pinterest, where I post more easy recipes just like this one. Happy baking!
