
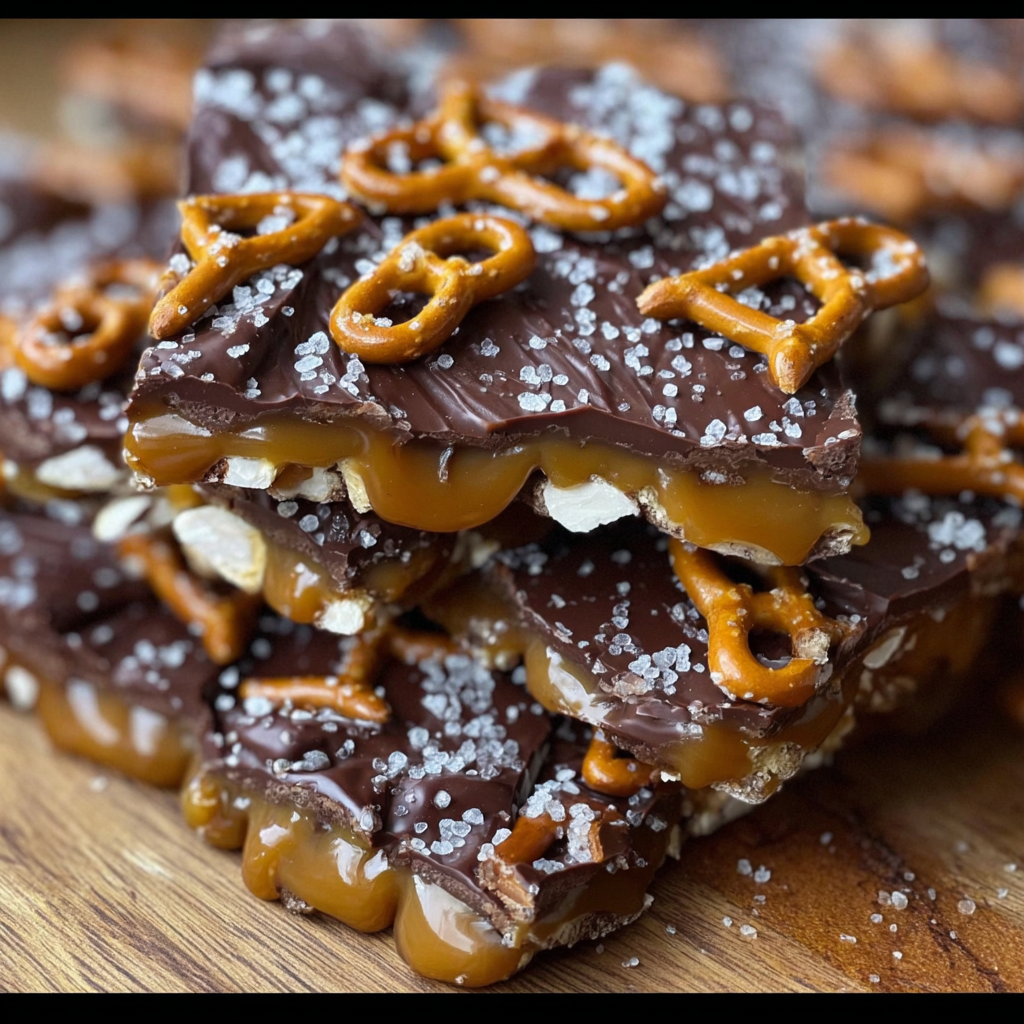
Hi There! Let’s Make Some Irresistible Salted Caramel Pretzel Bark
If you’re anything like me, you understand the magic that happens when salty meets sweet—especially when buttery caramel and crunchy pretzels join the party. This salted caramel pretzel bark recipe is absolutely one of my favorite treats because it’s simple to make, packed with amazing flavors, and perfect for sharing (or sneaking a few pieces all to yourself!).
What I love most about this recipe is how easy it is to customize and how quickly it comes together. You only need a handful of ingredients but get a deliciously crunchy, gooey, chocolatey delight that will have everyone asking for seconds.
Why This Salted Caramel Pretzel Bark Is So Great for You
While this is definitely a treat, it does have a little nutritional win to it. Pretzels add a satisfying crunch and provide some whole grains (especially if you pick the whole grain kind). Plus, the sea salt sprinkled on top does more than just taste great—it can help balance blood sugar spikes by slowing down the absorption of carbs.
Also, making caramel from scratch means you’re in control of the ingredients without any unwanted preservatives or additives lurking around. And when you enjoy it in moderation, it feels like a special moment rather than just another sugary snack.
How You Can Tweak This Recipe to Make It Your Own
- Chocolate Options: If you’re more of a dark chocolate fan, swap the milk or semi-sweet chocolate for a rich dark chocolate with 70% cocoa or higher. It adds a nice bittersweet contrast.
- Dairy-Free Version: Use coconut cream instead of heavy cream and a dairy-free butter alternative to make the caramel. Then pick dairy-free chocolate chips for the topping.
- Add Some Crunch: Feel free to mix in chopped nuts like almonds or pecans on top of the caramel before adding chocolate for an extra layer of texture and taste.
- Make It Mini: Use smaller pretzel twists or sticks and create bite-sized bark pieces. Perfect for parties or gifting!
Your Step-by-Step Salted Caramel Pretzel Bark Recipe
Ingredients You’ll Need
- About 2 cups small pretzels (twists or knots work great)
- 1 cup granulated sugar (only if you’re making caramel from scratch)
- 6 tablespoons unsalted butter (for the caramel)
- 1/2 cup heavy cream (for the caramel)
- 1 teaspoon vanilla extract (optional, adds a lovely flavor boost to your caramel)
- 8 ounces milk chocolate or semi-sweet chocolate (chopped or chips)
- Coarse flaky sea salt (for sprinkling on top)
Instructions to Create This Delicious Bark
- Prep your workspace: Line a baking sheet with parchment paper or a silicone baking mat. This makes cleanup a breeze and keeps the bark from sticking.
- Arrange those pretzels: Spread your pretzels in a single, even layer across your lined baking sheet. Get full coverage so each bite has that crunch!
- Make the caramel: In a medium saucepan over medium heat, melt the sugar, stirring constantly. Be patient—it will first clump, then turn into a smooth liquid, and finally a deep amber color. This is your perfect caramel base.
- Butter and cream: Carefully add the butter to your caramel—be careful, as it may bubble up. Stir until fully melted and combined. Slowly pour in the cream while stirring, cooking for another 1–2 minutes until silky and slightly thickened. Remove from heat and stir in vanilla if you like.
- Pour caramel over pretzels: Immediately spread the hot caramel evenly over the pretzels. Let it rest for 10-15 minutes—it should be tacky but not runny.
- Melt the chocolate: While the caramel sets, microwave the chocolate in 20-second bursts, stirring well between each burst until completely smooth.
- Chocolate time: Pour the melted chocolate over the caramel and pretzels, spreading gently to cover all.
- Salt it up: While the chocolate is still soft, sprinkle a generous layer of flaky sea salt. This will give each bite that perfect salty pop.
- Let it set: Allow the bark to cool at room temperature or pop it in the fridge for 30-60 minutes until it is firm and easy to break.
- Break and enjoy: Once fully set, break into rustic, irregular pieces, store in an airtight container, and share (or not!).
My Handy Tips for the Best Bark
- If you want your caramel less sticky, let it cool just a bit longer before spreading it on the pretzels.
- Microwaving chocolate slowly and stirring often prevents it from burning—chocolate hates high heat!
- Keep your bark stored in a cool, dry place—warmth can cause the chocolate to sweat and get messy.
- Use silicone baking mats if you have them; they’re perfect for easy bark removal without tearing your parchment.
- Want chunkier salt bites? Add flaky sea salt just as the caramel begins to set for a different texture.
Must-Have Equipment
- Medium saucepan (to make caramel)
- Baking sheet
- Parchment paper or silicone baking mat (non-stick is key!)
- Spatula or spoon for spreading caramel and chocolate
- Microwave-safe bowl (for melting chocolate)
- Measuring cups and spoons
Frequently Asked Questions About Salted Caramel Pretzel Bark
- Can I use store-bought caramel instead of making my own? Absolutely! Just warm up the store-bought caramel to pour over the pretzels, but making your own caramel is quite simple and super tasty.
- How long does this bark keep? Stored in an airtight container, it will stay fresh for up to 7 days at room temperature or up to 2 weeks refrigerated.
- Can I add other toppings? Yes! Nuts, dried cranberries, or even a sprinkle of crushed peppermint (especially around holidays) all work beautifully.
- What if my caramel seizes or gets grainy? Stirring constantly and controlling heat helps avoid this. If it happens, gently reheat and whisk until smooth.
- Can I make this gluten-free? Definitely—just double-check that your pretzels are certified gluten-free.
Ready to Treat Yourself?
Give this salted caramel pretzel bark a try, and I’m pretty sure you’ll want to make it again and again. It’s an easy, fun recipe that brings a little sparkle to snack time or special occasions.
Don’t forget to snap a pic of your beautiful bark and share it on Pinterest or Instagram tagging me—I’d love to see how yours turns out and hear all about your favorite twists on this treat. Happy baking!
