
Welcome to My Korean Glass Noodle Journey
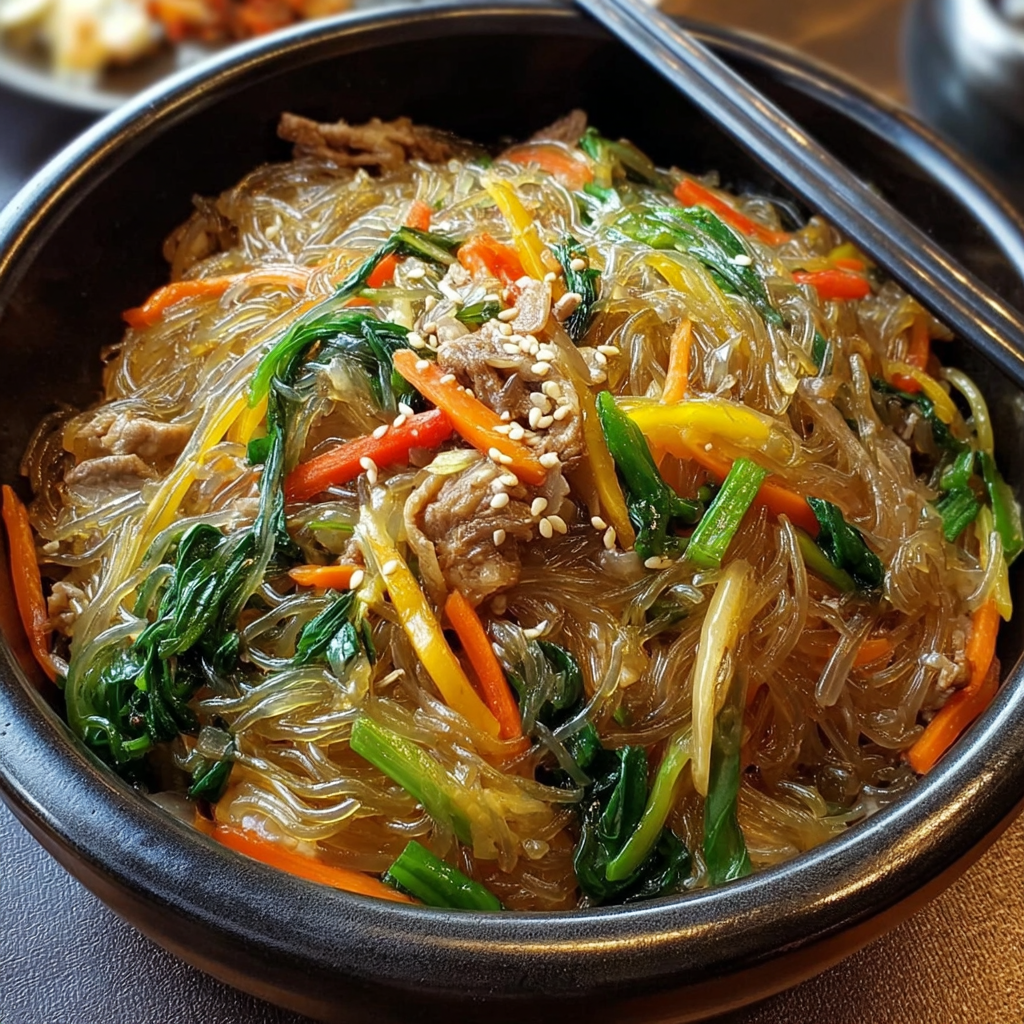
Hey there, food lover! Are you ready to whip up some delicious Korean glass noodles? These noodles, known as dangmyeon, are a total treat that you can enjoy as a main dish or a lovely side. I adore finding simple yet flavorful recipes that bring a little piece of other cultures into my kitchen. Don’t you just love that feeling? Plus, it’s such a pleasure to share a meal that’s not just tasty but also packed with flavor and color. So, let’s dive right in!
The Lowdown on Nutritional Benefits
One of the coolest things about Korean glass noodles is how light and healthy they are! Made from sweet potato starch, they are naturally gluten-free, making them a great option for many diets. When you add tender beef and vibrant veggies like carrots, bell peppers, and spinach, you’re not only getting a delicious dish but also plenty of vitamins and minerals. Spinach brings in iron and antioxidants, and the beef offers up protein, helping you feel full and satisfied. Plus, the sesame oil is loaded with healthy fats!
Fun Variations to Try
If you want to get creative (just like I do sometimes!), here are some fun variations you might enjoy:
- Vegetarian Twist: Switch the beef for tofu or tempeh, and sauté it until golden brown. This is a great way to pack in protein without any meat!
- Extra Crunch: Throw in some sliced cabbage or snap peas for that satisfying crunch. Trust me, it adds amazing texture!
- Spicy Kick: If you like things a little spicy, sprinkle in some red pepper flakes or drizzle with a bit of sriracha before serving.
Let’s Cook the Perfect Korean Glass Noodles
Ingredients
- 8 oz Korean sweet potato glass noodles (dangmyeon)
- 6 oz thinly sliced beef (sirloin or ribeye)
- 1 medium carrot, julienned
- 1/2 yellow bell pepper, julienned (or thin egg omelette strips)
- 2 cups fresh spinach leaves
- 2 green onions (scallions), chopped
- 2 cloves garlic, minced
- 3 tbsp soy sauce
- 1 1/2 tbsp sugar
- 2 tbsp toasted sesame oil
- 1 tbsp vegetable oil (for cooking)
- 1 tbsp sesame seeds (for garnish)
- Salt and pepper to taste
Step-by-Step Instructions
- Start by bringing a large pot of water to a boil. Cook the glass noodles according to the package instructions; it usually takes about 6-8 minutes until they’re perfectly soft but still chewy. Once done, drain and rinse them under cold water to stop the cooking process. To keep them from sticking, toss the noodles with 1 tbsp of toasted sesame oil and set them aside.
- In a small bowl, marinate the sliced beef with 1 tbsp of soy sauce, 1 tsp of sugar, half the minced garlic, and a pinch of pepper. Let that sit for about 10-15 minutes while you prepare the veggies.
- Heat 1 tbsp of vegetable oil in a large skillet or wok over medium-high heat. Add the marinated beef and stir-fry it until fully cooked—this should take about 2-3 minutes. Once cooked, remove the beef and set it aside.
- In the same pan, add the julienned carrots and yellow bell pepper. Stir-fry them for about 2-3 minutes until they’re tender-crisp. Then, toss in the spinach and green onions and cook just until the spinach wilts. Remove the veggies and set them aside too.
- Now, return the noodles to the pan over medium heat. Pour in the remaining soy sauce, sugar, and garlic, stirring well to combine. Next, add the cooked beef and vegetables back into the pan, gently tossing everything together so the sauce coats everything evenly.
- Drizzle the last 1 tbsp of toasted sesame oil over the mixture. Give it a taste and adjust the seasoning with a little salt, pepper, or if you prefer, a splash more soy sauce.
- Remove from heat, transfer your beautiful glass noodles to a serving bowl, and sprinkle a generous amount of toasted sesame seeds on top for that lovely finishing touch.
- Serve warm, and enjoy every delightful bite!
Practical Tips
- If you find leftover noodles, store them in an airtight container in the fridge for up to a week. When ready to eat, just warm them up in the pan or microwave!
- Feel free to prep your vegetables a day ahead to save time on busy nights. They’ll still taste fresh!
- If the noodles begin to clump together, a splash of warm water while reheating can work wonders to separate them.
Equipment Needed
Here’s what you’ll need to breeze through this recipe:
- A large pot for boiling the noodles
- A colander for draining the noodles
- A large skillet or wok for stir-frying
- A mixing bowl for marinating the beef
- A spatula or tongs for tossing everything together
Frequently Asked Questions
- Can I use a different type of noodle? Absolutely! You can substitute with any type of noodle you have at home, though remember, the taste and texture will vary.
- How do I know when the beef is cooked? The beef should be browned and firm to the touch; about 2-3 minutes usually does the trick!
- What can I use instead of beef? You can easily swap in chicken, shrimp, or even keep it 100% plant-based with tofu or tempeh.
- Is this dish spicy? Not at all! It’s quite mild, but you’re always welcome to add some heat if that’s your thing.
- Can this be made in advance? Yes, you can prepare everything and store it in the fridge. It’ll be just as tasty when reheated!
Let’s Connect!
I hope you give this delightful dish a try! I can’t wait to hear how it turns out for you. Snap a photo and share it with me on Pinterest or drop your thoughts in the comments below. Happy cooking!
