
Welcome to the World of Homemade Chocolate Caramels!
Hello, chocolate lovers! Are you ready to dive into a delightful recipe that combines gooey caramel and rich chocolate? I just adore making these vegan chocolate caramels because they’re surprisingly simple, incredibly delicious, and oh-so satisfying. If you’re like me and enjoy a little indulgence that doesn’t compromise on health, this recipe is a must-try!
Health Benefits of These Chocolate Caramels
It’s hard to believe that something so sweet can also be a bit nutritious, right? Well, let’s break it down. Medjool dates are packed with fiber, which is great for digestion, and they provide a natural sweetness that makes you feel good about indulging. Plus, they contain essential minerals like potassium and magnesium. The coconut cream or oil adds healthy fats, while the dairy-free chocolate chips let everyone join in on the fun, including those who are lactose intolerant or following a vegan lifestyle.
Adaptable Variations
One of my favorite things about this recipe is how versatile it is! Here are some fun ideas to mix it up:
- Nutty Surprise: Add a sprinkle of chopped nuts like almonds or cashews into the caramel mixture before spreading it in the pan. It will add a lovely crunch!
- Flavored Caramels: Swap the vanilla extract with almond extract or add a pinch of cinnamon for a warm flavor twist.
- Chocolate Choices: Don’t limit yourself to just one kind of chocolate! Try using a mix of milk and dark chocolate or even white chocolate for a unique taste.
Let’s Make Some Yummy Vegan Chocolate Caramels!
Ingredients
- 1 ½ cups pitted Medjool dates
- ¼ cup coconut cream or coconut oil (adjust for texture)
- 1 teaspoon pure vanilla extract (optional)
- Pinch of sea salt (plus extra for topping)
- 1 cup dairy-free/vegan chocolate chips or chopped dark chocolate
Serves 4–6 people
Standard portions → 4 servings
Slightly smaller portions → up to 6 servings
Cooking Instructions
- If your dates aren’t super soft, give them a soak in warm water for about 10-15 minutes, then drain them well.
- In a food processor or high-speed blender, blend the soaked dates with coconut cream or coconut oil until you achieve a creamy, caramel-like texture. Feel free to toss in the vanilla extract if you like that extra flavor kick.
- Take a moment to taste the mixture. If you want a little balance, add a pinch of sea salt—this really helps cut through the sweetness! Blend again briefly.
- Line a small square or rectangular pan with parchment paper. Press or spread the date caramel mixture evenly into the pan.
- Now, it’s time to chill! Pop the pan in the refrigerator or freezer until the caramel is firm, which takes about 1-2 hours.
- Once they’re nice and firm, remove the caramel block from the pan and cut it into small square or rectangular pieces.
- Time to melt the chocolate! Use a double boiler or microwave it in short bursts, stirring frequently until it’s smooth and melted.
- Coat each caramel piece in the delicious melted chocolate. I like to use a fork to dip them and lift them out—you can let any excess chocolate drip off. Place on parchment paper.
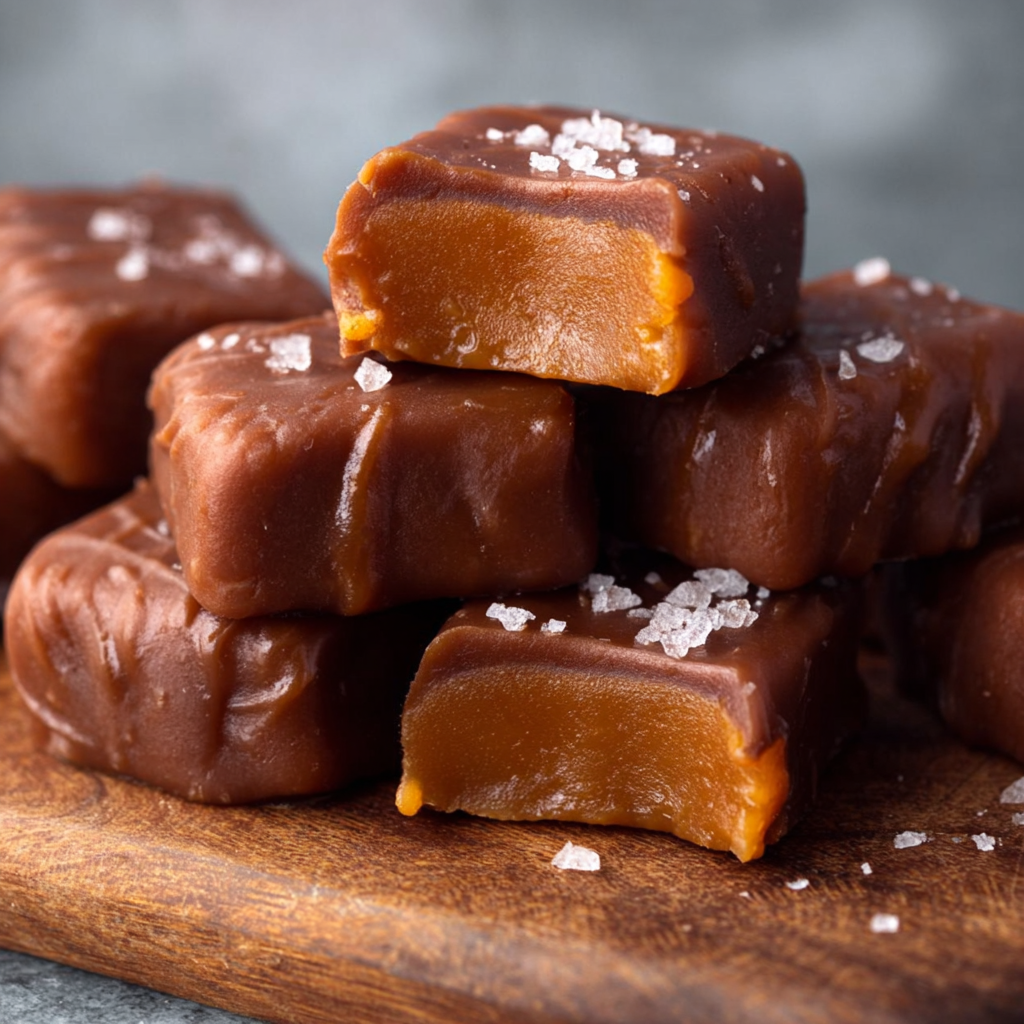
- Before the chocolate sets, sprinkle a small pinch of sea salt on top of each caramel. It really adds that gourmet touch.
- Chill the chocolate-coated caramels in the fridge until the chocolate hardens, which should take about 30 minutes.
- Lastly, store your delightful treats in an airtight container in the fridge or a cool place until you are ready to enjoy them.
Tips for Your Chocolate Caramels
- If you find the mixture too sticky, a bit more coconut cream or oil can help smooth it out.
- The cooler your chocolate is when you melt it, the easier it is to coat the caramels evenly!
- These caramels are perfect for sharing, but I won’t tell if you keep a batch all to yourself!
- Storing them in the refrigerator will keep them fresh longer, but they also taste amazing at room temperature.
Equipment You’ll Need
Before you get started, here’s a quick list of what you’ll need:
- A food processor or high-speed blender for that creamy caramel
- A small square or rectangular pan lined with parchment paper
- A double boiler or microwave-safe bowl for melting the chocolate
- A fork for dipping the caramels (optional but makes it easier!)
- A sharp knife for cutting the chilled caramels
Frequently Asked Questions
- Can I use dried dates instead of Medjool dates? While you can, Medjool dates have a better texture and flavor—they’re softer and sweeter!
- What if I don’t have coconut cream? No worries! Coconut oil can work just as well. Just adjust the consistency to your liking!
- How long do these caramels last? When stored properly in an airtight container, they can last for about a week in the fridge.
- Can I freeze these caramels for later? Yes! Just make sure they’re in an airtight container. They can be frozen for up to 3 months.
- What can I use instead of chocolate chips? You can use any dairy-free chocolate or even make your own chocolate coating if you’re feeling adventurous!
Join the Chocolate Fun!
So, there we go! You’ve learned how to make these scrumptious vegan chocolate caramels. I can’t wait to hear how yours turn out! Don’t forget to snap a picture and tag me on Pinterest—there’s something so satisfying about sharing sweet creations with a community. Happy cooking, my friends!
