
Your Ultimate Guide to Crafting the Perfect Cheese Board
Hey there! If you’re anything like me, you love a good cheese board. They’re like a delightful gift for the senses—each bite is an adventure of flavors! Making a cheese board is simple and a wonderful way to impress your guests without breaking a sweat. Today, I’m going to show you how to create a stunning cheese board that’s sure to be the highlight of your next gathering!
Ingredients You’ll Need
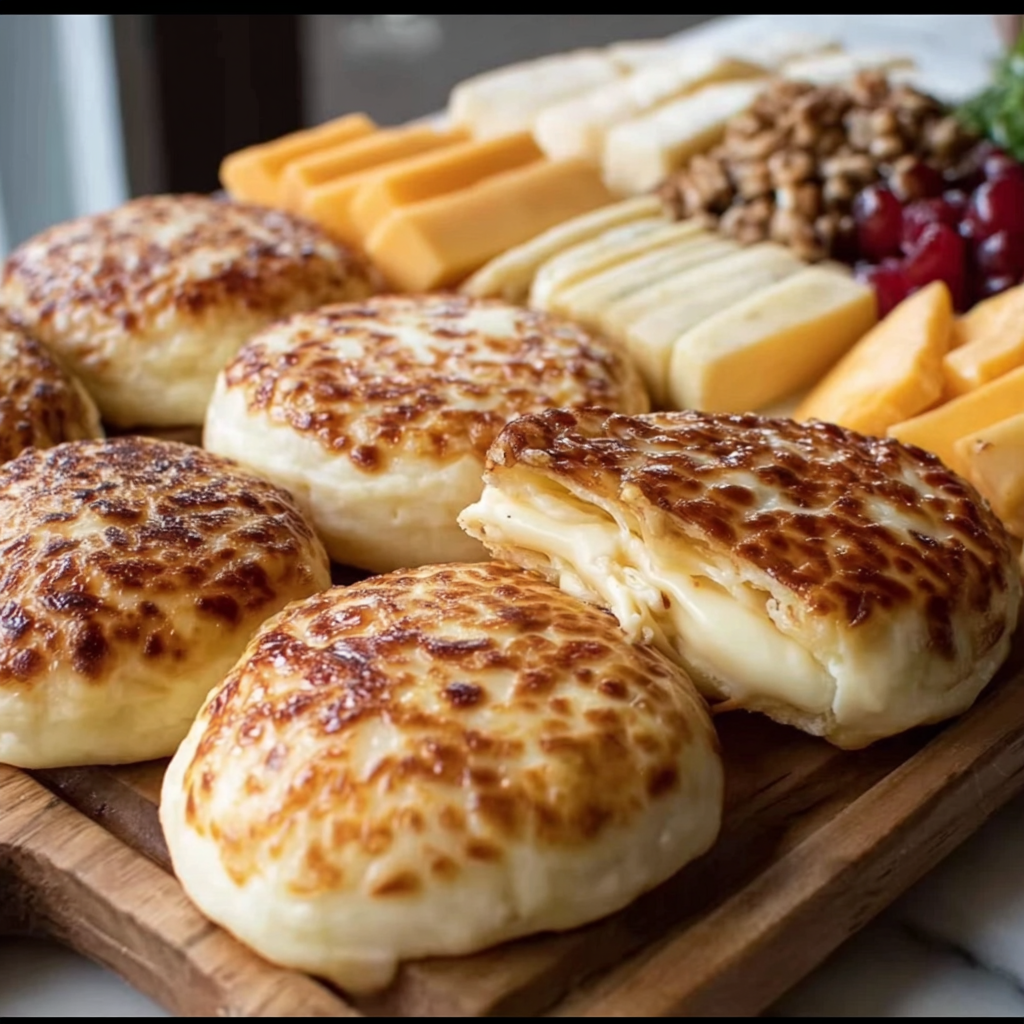
- Assorted cheeses (some of my favorites are cheddar, gouda, brie, and mozzarella)
- Cheese crisps or baked cheese rounds for that delightful crunch
- Fresh fruits like grapes, figs, or berries (yum!)
- Nuts (walnuts, almonds, or pecans offer great crunch)
- Crackers or bread (I love using baguette slices or artisanal crackers)
- Charcuterie items (think cured meats like prosciutto or salami)
- Honey or fig jam for a sweet touch
- Fresh herbs for garnishing (like rosemary or thyme for a pop of color)
Serves 4–6 people
Standard portions → 4 servings
Slightly smaller portions → up to 6 servings
Nutritional Benefits
Now, let’s talk about the benefits of this delicious board! Cheese is a fantastic source of calcium, protein, and various vitamins. Adding nuts infuses healthy fats and helps boost heart health. Fresh fruits not only bring vibrant flavors but also provide antioxidants, which are great for your immune system. So, you can enjoy this tasty treat while also getting some nutritional goodness!
Fun Variations to Make Your Board Unique
- Go Dairy-Free: Swap out regular cheese for plant-based cheeses if you have lactose intolerant guests!
- Sweet and Savory: Add dark chocolate squares or a few slices of smoked sausage for a unique twist.
- Seasonal Flavors: Change the fruits and nuts with the seasons—think apples and walnuts in fall, or strawberries and pistachios in spring!
How to Assemble Your Cheese Board
- Select Your Board: Choose a large wooden or slate cheese board. Something that showcases your ingredients beautifully!
- Prepare the Cheese: Slice assorted cheeses into bite-sized pieces or wedges. Arrange them across the board in groups, ensuring to add variety in colors and textures.
- Add Cheese Rounds: Place your cheese crisps or baked cheese rounds prominently on the board; they’ll look fantastic peeking out!
- Incorporate Fresh Fruits: Wash and cut fresh fruits, such as figs or berries. Cluster these sections around the cheese for that burst of color!
- Add Nuts: Fill in any small spaces with a handful of nuts—you want to provide that crunchy element too!
- Include Crackers or Bread: Arrange an assortment of crackers or slices of baguette around the board. This acts as a lovely vehicle for enjoying the cheese.
- Incorporate Charcuterie: If your friends enjoy meat, arrange cured meats like prosciutto or salami on one side. The contrast will be lovely!
- Drizzle with Honey or Jam: Place a small dish of honey or fig jam near the cheeses for a sweet complement, and provide small spoons for serving.
- Garnish: Use fresh herbs to pretty up the board. Place sprigs around the plate for a fragrant, decorative touch.
- Presentation: Step back and take a look! Adjust items as needed to ensure the board looks balanced and full of variety.
- Serve and Enjoy: Invite your guests to dive in and serve themselves. Enjoy the delightful medley of flavors and textures together!
Practical Tips for Your Cheese Board
- For the best flavors, take cheese out of the fridge about 30 minutes before serving—it allows them to get a bit softer and tastier.
- Store any leftovers in an airtight container; most cheeses can stay fresh in the fridge for several days.
- If you’re feeling fancy, consider adding some gourmet options like truffle cheese or specialty crackers for that extra pizzazz!
Equipment Needed
Here’s a quick equipment checklist for your cheese board:
- A lovely cheese board (wooden or slate is gorgeous!)
- A cheese knife
- A small spoon for honey or jam
- Small bowls for nuts and any dips
- Toothpicks or small forks for easy serving
Frequently Asked Questions
- How do I choose cheeses for my board? Try to include a variety of textures and flavors. A mix of soft, hard, pungent, and mild cheeses works great!
- Can I make this board ahead of time? Absolutely! You can prepare it a few hours in advance. Just cover it in plastic wrap and store it in the fridge until your guests arrive.
- What if someone has allergies? Be sure to label items that may cause issues, like nuts or dairy. It’s always better to be safe!
- How do I know what drinks to serve? White wines, rosé, or light beers often pair well with cheese, but you can also consider sparkling water for a non-alcoholic option!
- What can I do with leftover cheese? Leftover cheese can be stored in an airtight container; you can also use it in salads, pasta dishes, or on sandwiches!
Final Thoughts
There you have it! A delightful cheese board that not only pleases the eyes but also brings people together through flavors. I hope you enjoy making and sharing this beautiful creation just as much as I do! Don’t forget to share your cheese board creations with me on Pinterest—I would love to see how yours turns out!
