
Welcome to Your New Favorite Snack: Homemade Pizza Rolls!
Hey there! If you love pizza but want something a bit easier to eat with your hands, I’ve got a delicious recipe just for you—homemade pizza rolls. They’re cheesy, crispy, and super fun to make. Plus, whether you use store-bought dough or homemade, these rolls come together quickly and make the perfect snack or appetizer to share with family and friends. I’ve made these plenty of times, and trust me, once you try them, you’ll be hooked!
Nutritional Benefits of Pizza Rolls
Now, you might be wondering: “Are these pizza rolls just indulgent snacks, or do they pack some nutritional punch?” Well, it depends a bit on what ingredients you use! Mozzarella cheese is a good source of protein and calcium, which helps keep your bones strong. The tomato sauce brings lycopene to the table—a powerful antioxidant that’s great for heart health.
Choosing whole wheat or multigrain dough can add fiber, helping with digestion and keeping you fuller longer. And if you decide to brush your rolls with olive oil, you’re adding heart-healthy monounsaturated fats that can boost your wellness.
Creative Variations You Can Try
- Veggie Lover’s Twist: Add finely chopped bell peppers, mushrooms, or spinach to the cheese layer before rolling for a sneaky veggie boost.
- Spicy Kick: Sprinkle in some red chili flakes or add a layer of spicy pepperoni slices for a little heat.
- Vegan Version: Use a plant-based cheese and make or buy vegan pizza dough, then swap the butter or olive oil topping with vegan substitutes.
- Different Cheeses: Try a mix of mozzarella and sharp cheddar or even sprinkle some parmesan over the top before baking for extra flavor.
- Garlic Butter Finish: Mix some minced garlic into your melted butter or olive oil before brushing the tops to give a delicious garlic aroma.
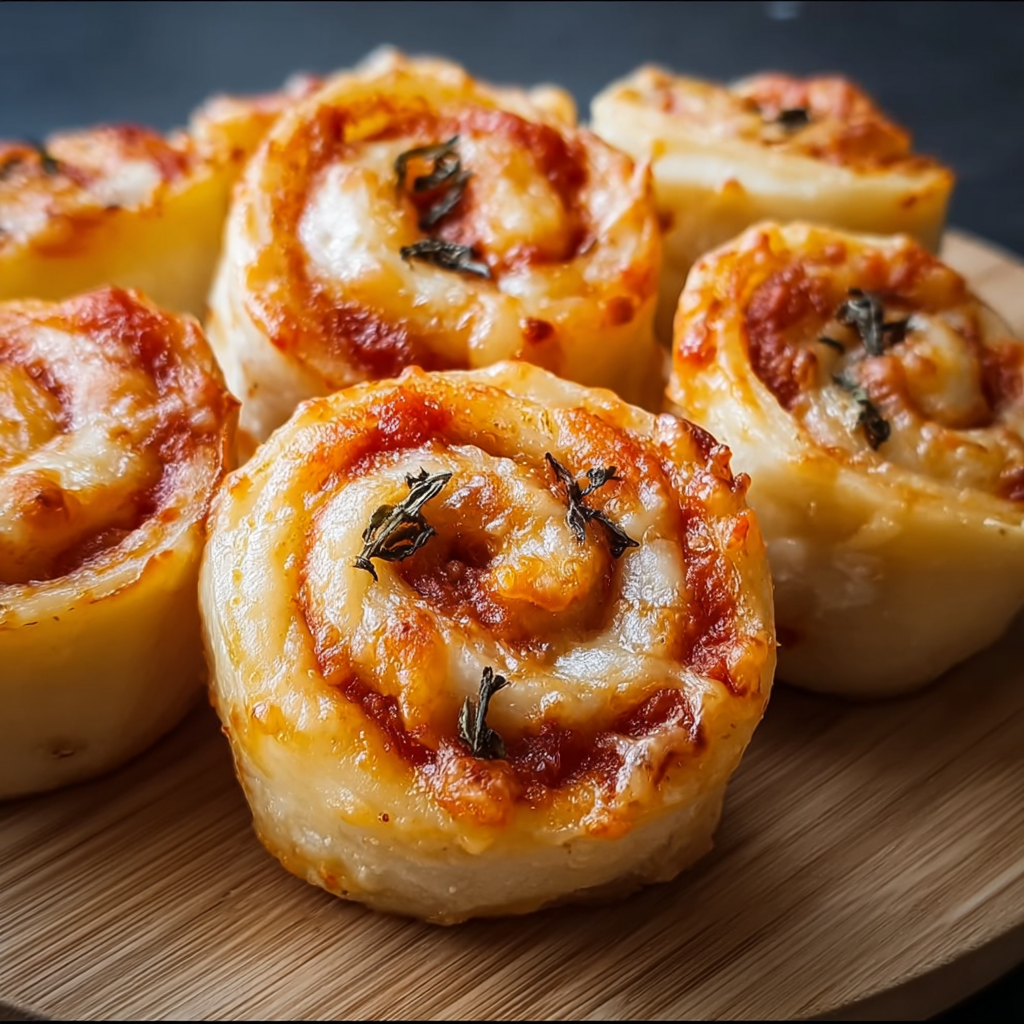
Step-by-Step Homemade Pizza Rolls Recipe
Ingredients
- Pizza dough (store-bought or homemade)
- Tomato pizza sauce
- Shredded mozzarella cheese
- Dried oregano or Italian seasoning
- Olive oil or melted butter (optional, for brushing)
Instructions
- Preheat your oven to 375°F (190°C). Getting that oven ready early helps everything bake perfectly.
- On a lightly floured surface, roll out your pizza dough into a large, even rectangle. Aim for an even thickness so your rolls bake equally.
- Spread a thin, even layer of tomato pizza sauce over the dough, leaving about a half-inch border around the edges to prevent leaking.
- Sprinkle shredded mozzarella cheese generously over the sauce—don’t be shy, the cheesier, the better!
- Starting from one long edge, carefully and tightly roll the dough up into a log shape. This helps the layers stick together and bake evenly.
- Using a sharp knife, slice the log into pieces about 1 to 1.5 inches thick.
- Place the pizza rolls cut side up on a baking sheet lined with parchment paper, leaving a little space between each roll so they can get nice and crispy.
- If you like, lightly brush the tops and edges with olive oil or melted butter. This step helps the rolls brown beautifully and adds flavor.
- Sprinkle dried oregano or Italian seasoning evenly over all the rolls for that classic pizza aroma.
- Bake in the preheated oven for 15-20 minutes, until the dough is golden and cooked through, and the cheese inside is melted and gooey.
- Remove from the oven, let cool for a few minutes (trust me, that cheese gets hot!), then serve and enjoy your homemade pizza rolls!
Helpful Tips for Perfect Pizza Rolls
- Don’t overfill: Avoid using too much sauce or cheese, or the rolls can become soggy or ooze out when baking.
- Rolling tight: Rolling your dough tightly keeps the filling inside and the rolls together while baking.
- Slicing careful: Use a very sharp knife to slice so the dough doesn’t squish and flatten the rolls.
- Storage: Store leftovers in an airtight container in the refrigerator and warm them up in the oven or air fryer for best results.
- Freezing: You can freeze unbaked slices on a tray and then transfer to a freezer bag. Bake straight from frozen—just add a few extra minutes to the bake time.
Equipment You’ll Need
- Baking sheet lined with parchment paper
- Rolling pin (or a clean bottle works in a pinch!)
- Sharp knife for slicing
- Mixing bowls (if you’re making your own dough)
- Basting brush (for brushing oil or butter)
Frequently Asked Questions
- Can I use gluten-free pizza dough? Absolutely! Just swap in your favorite gluten-free dough option, and the recipe works the same way.
- Can I prepare these ahead of time? Yes! Assemble the rolls, cover with plastic wrap, and refrigerate for a few hours or overnight before baking.
- How do I reheat leftover pizza rolls? I like to use the oven or an air fryer to keep them crispy—microwaving might make them a bit soggy.
- Can I add other toppings? Sure thing! You can add pepperoni, cooked sausage, or veggies right on top of the cheese before rolling.
- What’s the best type of cheese to use? Mozzarella is classic because it melts beautifully, but you can mix it with mozzarella and provolone or cheddar for extra flavor.
Ready to Roll?
I hope you’re as excited as I am about making these pizza rolls! They’re perfect for when you want that pizza taste in a fun, handheld form. If you give this recipe a try, please do share your photos and thoughts with me on Pinterest—I love seeing how you bring these recipes to life. Happy cooking, and enjoy every bite!
