
Homemade Granola Bars!
Hey there! If you’re looking for a delicious and healthy snack, you’ve landed in the right place. Today, I’m excited to share a fantastic recipe for homemade granola bars that are not only easy to make but also packed with nutrients. I love whipping these up, and they make a great takeaway snack for busy days or those afternoons when you just need a little something to keep you going!
Nutritional Benefits of Homemade Granola Bars
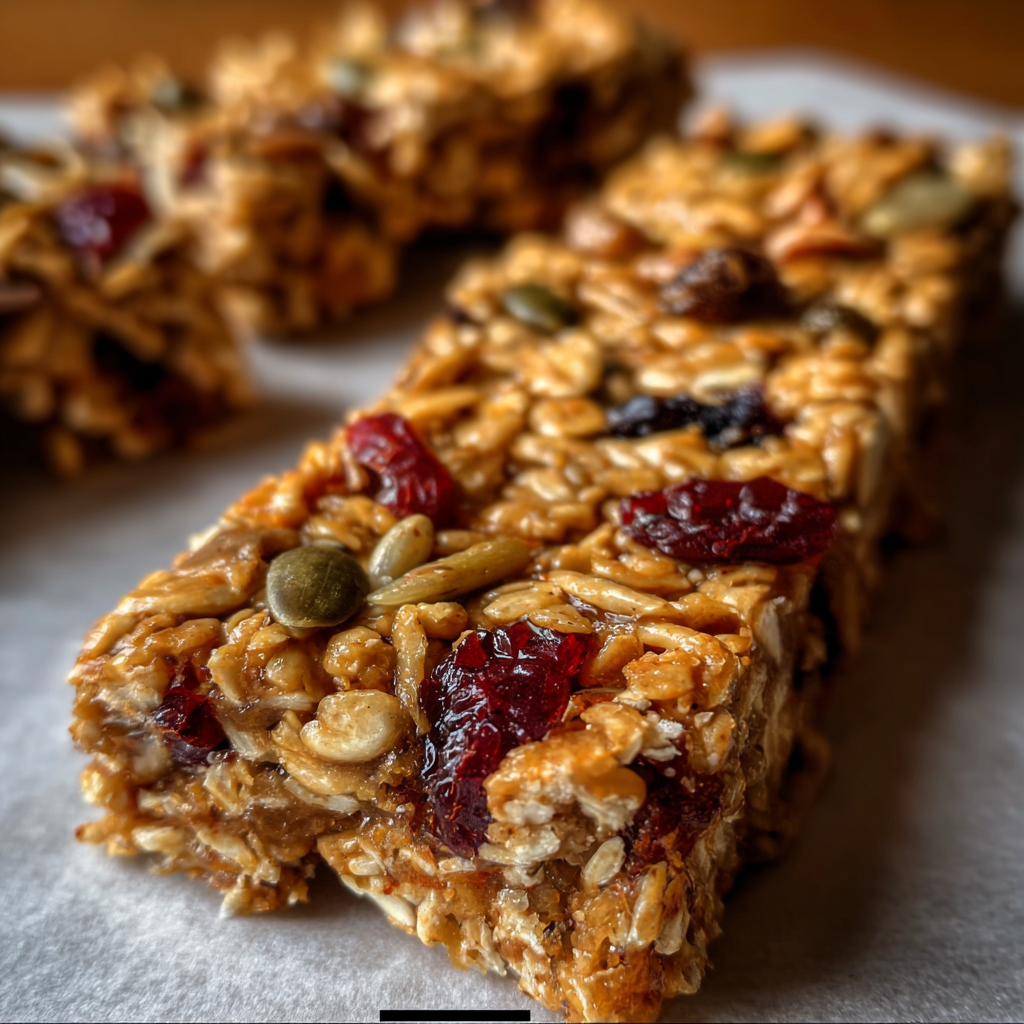
One of the best parts about making your own granola bars is knowing exactly what’s going into them. These bars are loaded with benefits! The rolled oats provide a great source of fiber, which helps keep you feeling full and satisfied. The almonds and seeds not only add some crunch but are also rich in healthy fats that are good for your heart. The dried cranberries add a bit of natural sweetness along with antioxidants to help fight off those pesky free radicals. Plus, you can easily customize the sweetness level using honey or maple syrup, depending on your preference!
Fun Adaptable Variations
- Nut-Free Version: If you’re avoiding nuts, just swap out almond butter for sunflower seed butter. And you can skip the sliced almonds altogether!
- Flavor Boosters: Want a little zing? Try adding cinnamon, nutmeg, or even cocoa powder for a chocolaty treat.
- Add More Fruits: Feel free to mix in other dried fruits like apricots, blueberries, or figs for a fun flavor explosion.
- Protein Punch: Consider tossing in some protein powder into the mixture if you’re looking to boost your protein intake.
Homemade Chewy Granola Bar Recipe
Ingredients
- 2 cups rolled oats
- 1/2 cup sliced almonds
- 1/4 cup pumpkin seeds
- 1/4 cup sunflower seeds
- 1/3 cup dried cranberries
- 1/3 cup raisins (optional)
- 1/2 cup honey or maple syrup
- 1/4 cup almond butter or peanut butter
- 1 teaspoon vanilla extract (optional)
- A pinch of salt
Serves 6–8 people
- If used as a breakfast portion (~1/2 cup per person) → about 6 servings
- If used as a topping or smaller snack portions → up to 8 servings
Step-by-Step Instructions
- Preheat the Oven: Start by preheating your oven to 325°F (160°C) if you want to toast your oats and nuts—this step is optional but adds a lovely depth of flavor!
- Toast Your Ingredients: Spread the rolled oats, sliced almonds, pumpkin seeds, and sunflower seeds on a baking sheet. Pop them in the oven for about 10 minutes until they’re lightly golden. Keep an eye on them—they can brown quickly!
- Mix Wet Ingredients: In a small saucepan over low heat, gently warm the honey (or maple syrup) with the almond or peanut butter until smooth and fully combined. If you’re feeling fancy, stir in a teaspoon of vanilla extract. Remove from heat.
- Combine Dry Ingredients: In a large mixing bowl, combine the toasted mixture with dried cranberries and raisins if you’re using them. Add a pinch of salt and stir everything together to ensure even distribution.
- Mix It Up: Pour the warm honey and nut butter mixture over your dry ingredients. Mix well—make sure each piece is nicely coated and sticky!
- Press into the Pan: Line an 8×8 inch baking pan with parchment paper. Transfer the sticky mixture into the pan and press it down firmly with a spatula or your hands. The more compact it is, the better it will hold together!
- Chill and Set: Place the pan in the refrigerator for at least 2 hours or until it’s firm to the touch. This helps all those flavors come together.
- Cut and Serve: Once set, lift the mixture out using the parchment paper and cut it into bars or squares. Enjoy as a chewy snack that’s oh-so-good for you!
Practical Tips for Success
- Storing your granola bars in an airtight container in the fridge keeps them fresh for up to one week. For longer-term sticks around, you can freeze them!
- Let the bars sit for a bit if you find they are crumbly. Sometimes giving them a little more time in the fridge helps them hold together.
- Want to add even more texture? Try mixing in some mini chocolate chips or coconut flakes when incorporating the dried fruits.
Equipment Needed
Before you get started, here’s a quick list of what you’ll need:
- An oven (if toasting ingredients)
- An 8×8 inch baking pan lined with parchment paper
- A baking sheet for toasting ingredients
- A small saucepan for warming up the honey or maple syrup
- A mixing bowl and spatula for combining everything
Frequently Asked Questions
- Can I replace the honey with agave syrup? Absolutely! Agave syrup works just like honey and is a great substitute.
- What other seeds can I use? Feel free to experiment with chia seeds or flaxseeds; they’re super healthy too!
- How can I keep these bars from being too crumbly? Make sure to add enough wet ingredients and really press them into the pan—compactness is key!
- Can I use quick oats instead of rolled oats? Yes, but the texture may be slightly different. Rolled oats give a chewier bite!
- How can I customize these for kids? Kids love variety! Toss in fun mix-ins like chocolate chips, or use fruity combinations of dried fruits.
Closing Thoughts
I hope you give these homemade granola bars a try! They’re perfect for a quick snack or breakfast on the go. Plus, you can feel good knowing they’re filled with wholesome ingredients. If you loved this recipe, let’s keep the good vibes going! Come say hi over on Pinterest, where I share more delicious recipes that bring joy to your kitchen!
