
Your New Favorite Recipe!
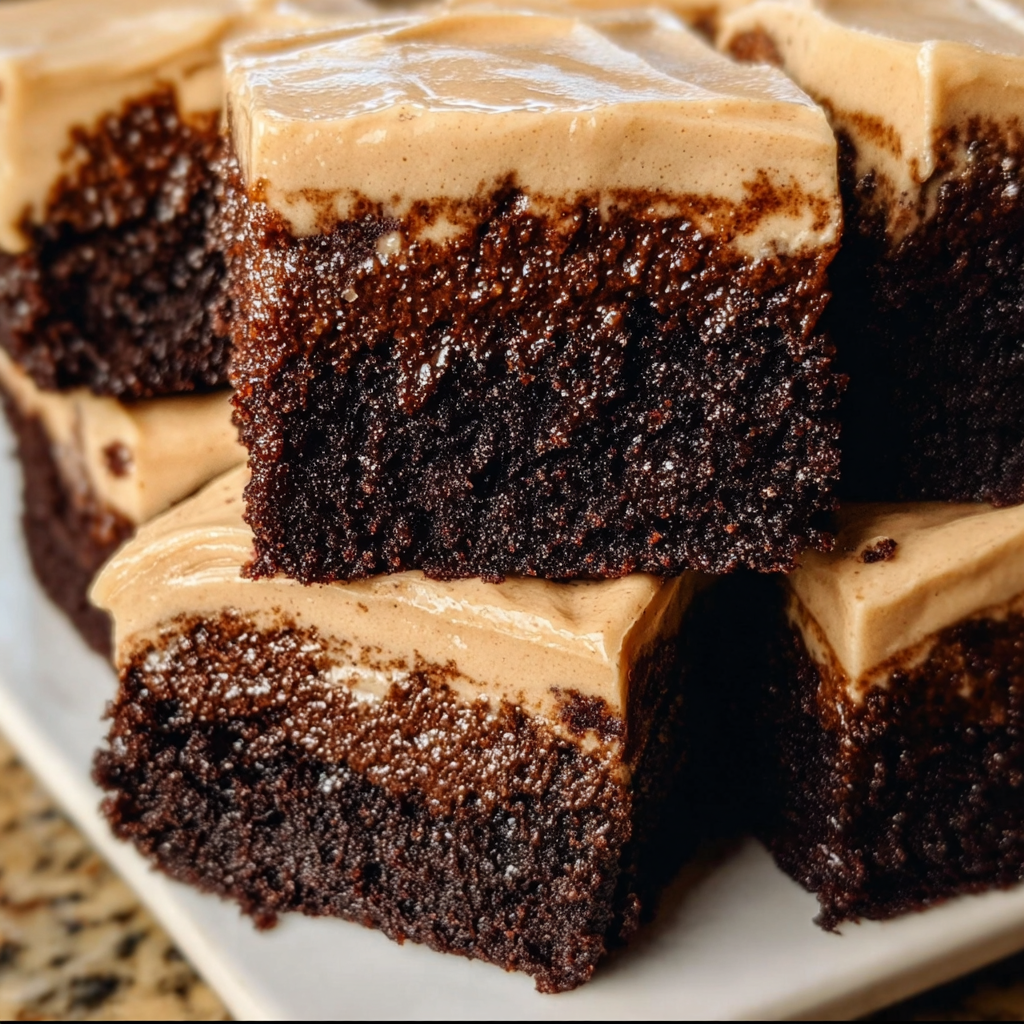
Hey there! Are you ready for a little treat that will absolutely elevate your dessert game? I’m excited to share this incredible recipe for Coffee Brownies with Coffee Frosting. It’s perfect for those of us who love that rich, chocolatey goodness with a hint of coffee. Trust me; these brownies are sure to become a hit at your next gathering, or you can keep them all to yourself—no judgment here!
Nutritional Benefits of Coffee Brownies
Now, you might be thinking, “Brownies aren’t exactly known for their health benefits!” But let me point out a few things. First off, cocoa powder is full of antioxidants, which are great for fighting off free radicals in our bodies. Plus, the butter in moderation provides essential fats your body needs. Oh, and if you’re using espresso powder, it can boost your metabolism a little! Just remember to enjoy these little treats in moderation—they’re rich in flavor and satisfy cravings perfectly!
Adaptable Variations
One of my favorite things about this recipe is its flexibility! Here are some fun variations you can consider:
- Nutty Delights: Add in some chopped nuts like walnuts or pecans for a crunchy texture. It adds a beautiful contrast to the fudgy brownies!
- Chocolate Overload: If you’re a true chocoholic, toss in some chocolate chips—milk, dark, or white chocolate—when you combine your ingredients.
- Decaf Option: If you want to scale back on the caffeine but still enjoy that coffee flavor, use decaffeinated coffee in your frosting instead!
- Dairy-Free Version: Substitute the butter with a dairy-free option like coconut oil or a vegan butter alternative, and use almond milk or a non-dairy cream.
Decadent Coffee Brownie Recipe
Ingredients
- 1 cup (2 sticks) unsalted butter
- 2 cups granulated sugar
- 4 large eggs
- 1 teaspoon vanilla extract
- 1 cup all-purpose flour
- ¾ cup unsweetened cocoa powder
- 1 teaspoon instant espresso powder (or 2 tablespoons brewed strong coffee)
- ½ teaspoon salt
For the Coffee Frosting:
- ½ cup (1 stick) unsalted butter, softened
- 2 to 2½ cups powdered sugar, sifted
- 1 to 2 tablespoons strong brewed coffee or coffee extract
- 1 teaspoon vanilla extract
- 1 to 2 tablespoons heavy cream or milk (optional, to adjust consistency)
Serves 9–12 people
If cut slightly larger → around 9 servings
If cut into standard 2×2-inch squares → about 12 servings
Step-by-Step Instructions
- Preheat your oven to 350°F (175°C). Grease a 9×13-inch baking pan and line it with parchment paper. This makes removal and cleanup a breeze!
- In a large bowl, melt the butter completely and let it cool slightly. Then, stir in the sugar until it’s nicely combined.
- Add the eggs, one at a time, mixing well after each addition. Stir in the vanilla extract too.
- In another bowl, whisk together the flour, cocoa powder, instant espresso powder, and salt until they are all well mixed.
- Gradually add your dry mixture to the wet ingredients, folding gently until everything is just combined. Remember, less is more here—don’t overmix!
- Pour the batter into the prepared pan. Smooth the top with a spatula, and pop it in the oven to bake for about 25 to 30 minutes. You’ll want a toothpick to come out with moist crumbs, not wet batter.
- Once done, remove them from the oven and let them cool completely in the pan on a cooling rack.
- While they’re cooling, let’s whip up that delightful coffee frosting! Beat the softened butter until creamy in a large bowl.
- Gradually add powdered sugar (about ½ cup at a time) and mix until fully incorporated.
- Add your brewed coffee and vanilla extract. Keep beating until the frosting is fluffy. If you find it too thick, add a little heavy cream or milk to reach your desired consistency.
- Spread that delectable frosting evenly over your cooled brownies, ensuring you cover every inch.
- Let it set slightly at room temperature or chill briefly before slicing into squares.
Practical Tips
- For the fudgiest brownies, resist the urge to bake them too long. The toothpick test is crucial here!
- Store any leftover brownies in an airtight container at room temperature for up to 3 days (if they last that long!).
- These brownies also freeze wonderfully! Just wrap them in plastic wrap and pop them in a freezer-safe container.
Essential Equipment Needed
Here’s what you’ll need to make the magic happen:
- A 9×13-inch baking pan (don’t forget the parchment paper!)
- A large mixing bowl and a separate bowl for dry ingredients
- A whisk for combining your dry ingredients
- A spatula for smooth mixing and spreading frosting
- A cooling rack for perfect cooling!
Frequently Asked Questions
- Can I use margarine instead of butter? You can, but butter gives the best flavor and texture for these brownies.
- What if I don’t have espresso powder? Just use brewed strong coffee instead; it works just as well!
- How do I store leftovers? Keep them in an airtight container at room temperature or in the fridge for a chewy texture.
- Can I add other flavors to the frosting? Absolutely! A hint of almond extract or hazelnut can take it to another level.
- Would these brownies work without frosting? They’re still delicious on their own! But the coffee frosting truly elevates them.
So, what do you think? I can’t wait for you to try these Coffee Brownies with Coffee Frosting! If you make them, please let me know how they turned out. Follow me on Pinterest for more fun and delightful recipes. Happy baking!
