
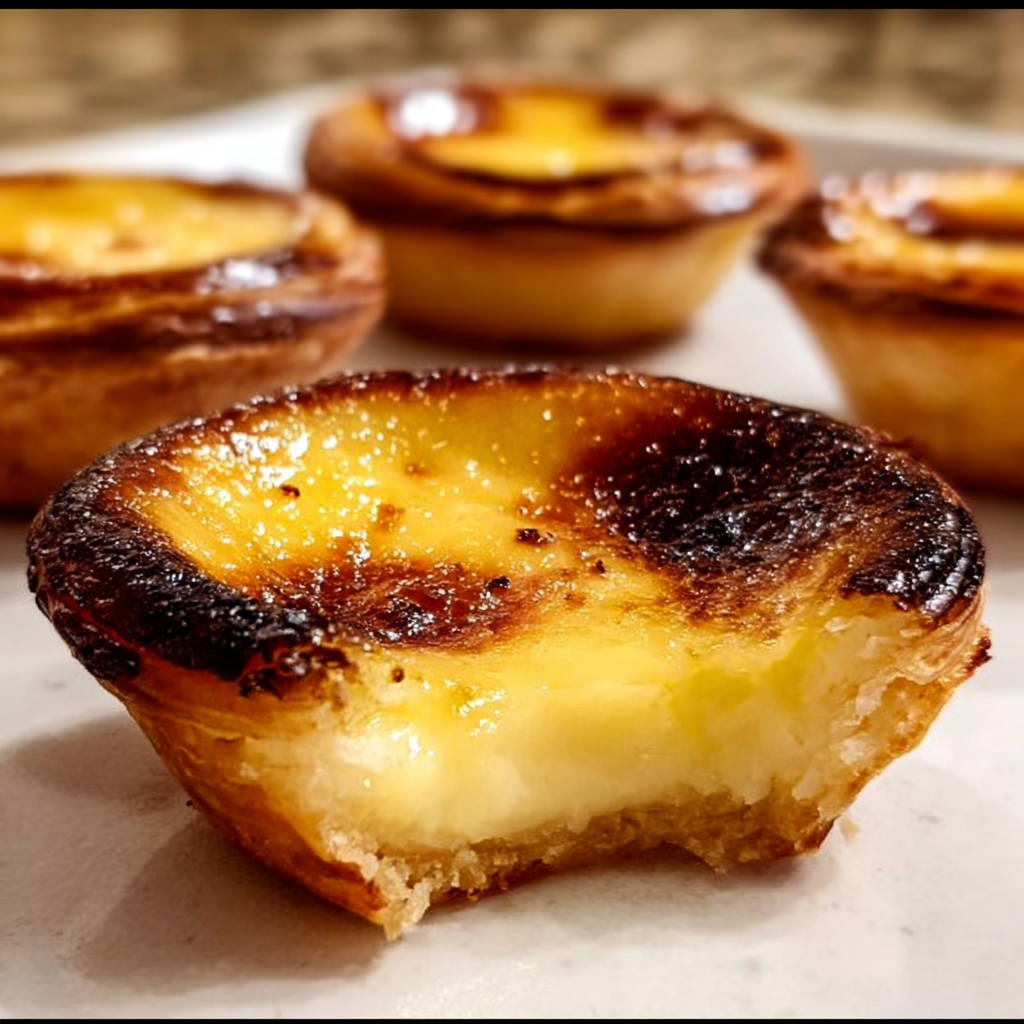
Hello, lovely bakers! Today, I’m thrilled to share with you a delightful recipe for Pastel de Nata, those wonderfully creamy Portuguese custard tarts. These little bites of heaven are perfect for impressing your friends or just treating yourself! The crispy, flaky pastry paired with that luscious custard is nothing short of amazing. Plus, you won’t believe how straightforward it is to whip up these beauties at home!
Nutritional Benefits of Custard Tarts
Now, let’s definitely enjoy these tarts in moderation (because, let’s face it, they’re a treat!). But they do have some redeeming qualities! The egg yolks in the custard are rich in protein and vital nutrients like vitamin A and choline, which supports brain health. While the sugar adds sweetness, you can easily adjust the sweetness level to suit your tastes. And if you want to sneak in some nutrients, why not add in some zest from fruits like lemons or even oranges? It gives a bright flavor and adds a bit of vitamin C as well!
Delicious Variations
- Flavored Custard: Want to switch it up? You can add a dash of almond extract for a nutty twist or use alternative extracts like coconut or orange.
- Fruits on Top: Fresh berries or fruit slices can be a beautiful addition after baking. It not only looks gorgeous but adds a fresh flavor that’s so lovely!
- Dairy-Free Option: If you’re looking for a dairy-free alternative, swap the whole milk for a plant-based milk like almond or oat milk, and use a cornstarch or flour mix to maintain the custard texture.
Easy Pastel de Nata Recipe
Ingredients
- 1 sheet store-bought puff pastry
- 3/4 cup (150g) granulated sugar
- 1/3 cup (80ml) water
- 3/4 cup (180ml) whole milk
- 3 tablespoons cornstarch (or all-purpose flour)
- 5 large egg yolks
- 1 teaspoon vanilla extract (or 1 vanilla bean, split)
- Zest of 1 lemon (optional)
- Pinch of ground cinnamon (optional)
Serves 6–8 tarts
Standard portions → 6 tarts
Slightly smaller portions → up to 8 tarts
Instructions
- Start by preheating your oven to 475°F (245°C) and lightly greasing your muffin tin or pastel de nata molds.
- Roll out your puff pastry sheet and cut circles that are slightly larger than your muffin cups. Press these circles into the cups, making sure to leave a little overhang. Pop them into the fridge to chill while we prepare the delicious custard.
- In a small saucepan, combine sugar and water. Heat this over medium heat until the sugar dissolves completely and the mixture looks syrupy (you want it to reach about 220°F/104°C). Once it’s there, take it off the heat and let it cool slightly.
- In a separate bowl, whisk the cornstarch into the cold milk until it’s all nice and smooth.
- Now, carefully pour your milk mixture into the saucepan with the syrup. Return it to medium heat, stirring constantly for about 5 minutes, until it thickens into a custard-like consistency. Then remove from heat!
- In another bowl, whisk the egg yolks lightly. Slowly pour a bit of the warm milk mixture into the yolks while whisking constantly—this is called tempering! Then combine the warm yolk mixture back into the saucepan.
- Add the vanilla extract, lemon zest, and cinnamon (if you’re using it). Stir it all together, and for that silky texture, strain the custard through a fine mesh sieve.
- Pour the custard carefully into your chilled pastry shells, almost to the top. Bake these lovely tarts in the preheated oven for about 12-15 minutes, until the pastry is puffed and golden, and the custard is bubbling and caramelizing on top. If you want that extra caramelization, turn on the broiler for 1-2 minutes. But keep a close eye on them to prevent burning!
- Once done, take them out of the oven and let the tarts cool slightly in the pan. After a few minutes, transfer them to a wire rack to cool further. Serve these beauties warm or at room temperature, and enjoy!
Practical Tips
- For an easy release, make sure to grease your muffin tin or use silicone molds.
- If you have leftover custard filling, you can try pouring it into ramekins and baking it for a custard dessert as well!
- Store any uneaten pastel de nata in an airtight container in the fridge for a couple of days, but they are truly best enjoyed fresh!
Equipment Needed
Here’s what you’ll need:
- 1 muffin tin or pastel de nata molds
- A rolling pin for the puff pastry
- A fine mesh sieve for straining the custard
- Small to medium saucepan for creating syrup and cooking custard
- Bowls for mixing
- Whisk for mixing the custard
Frequently Asked Questions
- How can I tell when my pastries are done baking? Look for a golden-brown color on the pastry and bubbling custard. You may even see a bit of caramelization on the top!
- Can I use homemade puff pastry instead of store-bought? Sure! Just ensure it’s rolled out thin enough to fit into the molds.
- What if I can’t find lemon zest? No worries! Just leave it out, or substitute with orange zest for a different flavor twist.
- Can I make these ahead of time? Yes! You can prepare the pastry and custard in advance and assemble them before baking.
- How should I store leftover tarts? Store them in an airtight container in the fridge, but they taste best when they are fresh. Try to eat them within a couple of days for the best texture!
Did you give the Pastel de Nata a try? I can’t wait to hear how your scrumptious tarts turn out! Don’t forget to share your creations on Pinterest and tag me—I’d love to see your delicious results!
