
Hey Pizza Lovers! Let’s Make Easy Cheesy Pizza Pockets Together
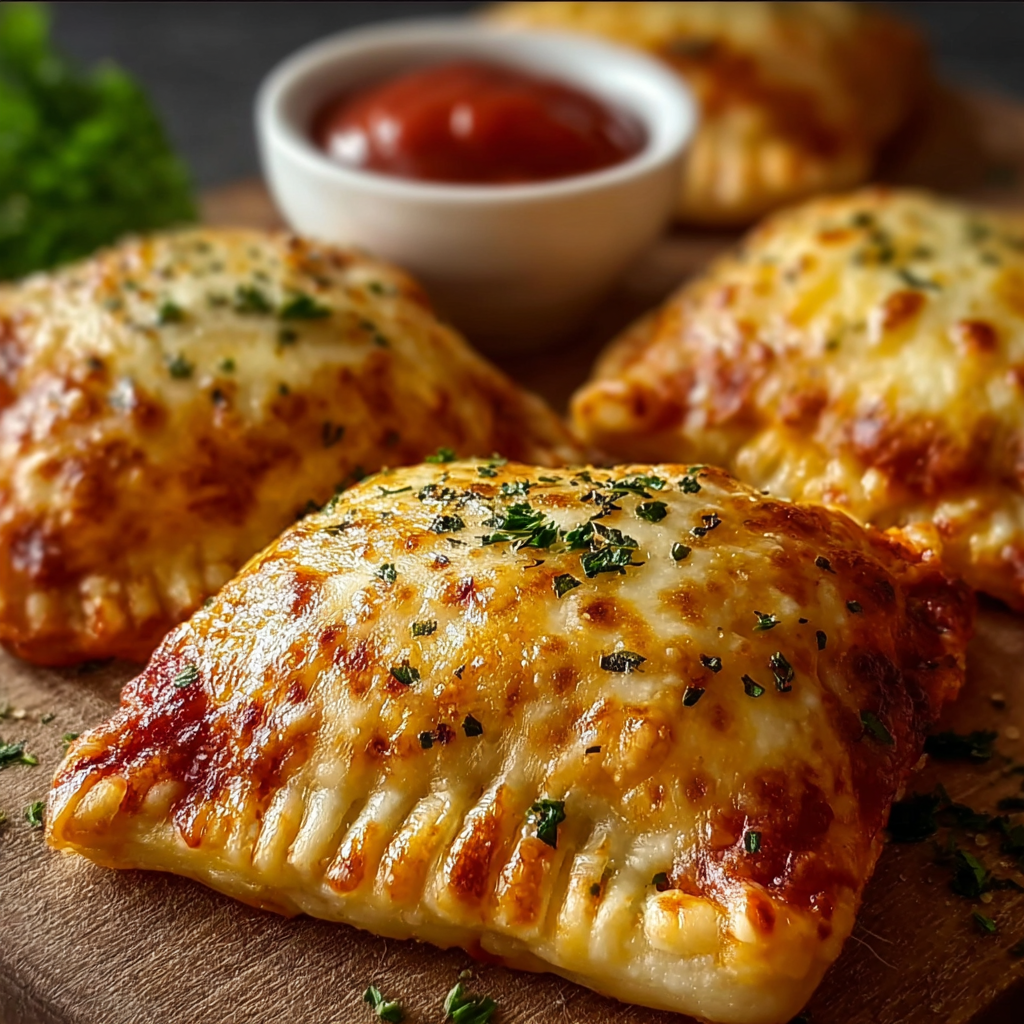
Hi there! If you’re like me and absolutely adore pizza, but sometimes find rolling out the dough and handling a full pizza a bit much, I’ve got a super simple and fun recipe for you—pizza pockets! They’re little, hand-held bites bursting with cheesy, saucy goodness. I love making them for a quick snack, party food, or even a weeknight dinner that kids (and adults!) rave about. Plus, you can customize them however you like, which makes the whole cooking experience feel personal and fun.
Why I Love These Pizza Pockets and Why You Will Too
First off, these pizza pockets use pre-made dough or puff pastry, so there’s no need to stress about making dough from scratch. That means less mess and more time to enjoy your delicious results. The pockets are crispy outside and melty inside, which is truly that perfect combo we all crave with pizza. Also, they’re portable—perfect for on-the-go or for dipping into extra sauce (because who doesn’t love dipping?).
Nutritional Benefits of This Recipe
While pizza pockets are a treat, they also carry some nutritional upsides, especially when you pick your ingredients mindfully. For example, mozzarella cheese is a fantastic source of calcium and protein, which helps keep your bones strong and keeps you feeling full longer. Plus, using tomato sauce adds a dose of lycopene, a powerful antioxidant that supports heart health.
If you want to boost the nutrition further, feel free to add veggies like sliced bell peppers, spinach, or mushrooms as your pizza toppings. That way, you sneak in some extra vitamins and minerals without compromising the great pizza flavor!
Fun Ways You Can Mix It Up
- Go Vegetarian: Swap pepperoni for your favorite veggies like olives, artichokes, or sun-dried tomatoes.
- Make It Spicy: Add some crushed red pepper flakes or chopped jalapeños before sealing the pockets.
- Cheese Variation: Try mixing mozzarella with cheddar or provolone for a different cheesy twist.
- Gluten-Free Option: Use gluten-free pizza dough or puff pastry available in most grocery stores.
- Herb Infusion: Brush the tops with garlic butter instead of olive oil and sprinkle fresh basil after baking.
Step-by-Step Guide to Making Your Pizza Pockets
Ingredients You’ll Need
- 1 package pre-made pizza dough or puff pastry
- 1 cup shredded mozzarella cheese (plus extra for topping)
- 1/2 cup pizza sauce or marinara sauce (plus extra for dipping)
- Optional: 1/2 cup sliced pepperoni or your favorite pizza toppings
- 1 tablespoon olive oil or 1 beaten egg (for brushing)
- 1 teaspoon dried parsley or Italian seasoning (for garnish)
- Salt and pepper to taste
Instructions
- Preheat your oven to 400°F (200°C) and line a baking sheet with parchment paper.
- Roll out your pizza dough on a lightly floured surface to about 1/8 inch thick. Then cut it into roughly 4×4 inch squares.
- Spoon about 1 tablespoon of pizza sauce onto one half of each square. Leave some space around the edges so you can seal the pockets properly.
- Add a generous pinch of shredded mozzarella cheese over the sauce. If you’re adding pepperoni or other toppings, place a few slices right on top of the cheese.
- Fold the dough over to make a pocket. Press the edges together firmly with your fingers and seal them by pressing with a fork. This helps keep all the yummy filling inside and prevents any leaks.
- Place your sealed pockets on the prepared baking sheet.
- Brush the tops lightly with olive oil or beaten egg. This helps get a nice golden color and a crispy texture when baking.
- Sprinkle extra shredded mozzarella on top of each pocket for that cheesy finish you’ll adore.
- Bake them in your preheated oven for 12-15 minutes, or until the pockets are golden brown and the cheese inside is bubbly and melted.
- Right after you take the pockets out of the oven, sprinkle with dried parsley or Italian seasoning for a fresh, flavorful touch.
- Let them cool just a bit so you don’t burn your mouth, then serve warm with extra pizza sauce or marinara for dipping. Enjoy!
Helpful Tips I Swear By
- Sealing Tips: Make sure to seal the edges very well so the sauce and cheese don’t spill out during baking. Press with the fork firmly.
- Brush It Up: Using an egg wash (beaten egg) will give your pizza pockets a shinier, richer look, while olive oil creates a rustic, crispy crust.
- Watch the Oven: Don’t walk away during baking as ovens differ. Check near 12 minutes to avoid over-browning.
- Storage: Store leftovers in an airtight container in the fridge for up to 3 days. Reheat in the oven or toaster oven for best crispness.
- Freezing: These pizza pockets freeze beautifully! Freeze on a tray first, then transfer to a freezer bag. Bake from frozen, just add a few extra minutes to cooking time.
Essential Equipment for This Recipe
- Baking sheet lined with parchment paper (prevents sticking and makes cleanup easy)
- Rolling pin to roll out the dough evenly
- Sharp knife or pizza cutter to cut the dough into squares
- Spoon for spreading sauce
- Fork to seal the edges
- Basting brush for egg or olive oil wash
- Oven mitts to handle hot trays
Frequently Asked Questions About Pizza Pockets
- Can I substitute the dough with store-bought puff pastry? Absolutely! Puff pastry creates a flaky, buttery pocket that’s deliciously different but still works perfectly.
- Can I make these vegan? Yes! Use vegan cheese and a plant-based dough or puff pastry, and brush with olive oil instead of egg wash.
- What if I don’t have pepperoni? No problem! You can use cooked sausage, mushrooms, olives, or just stick with cheese and sauce.
- How do I keep the pockets from getting soggy? Make sure your dough is rolled thin and avoid overfilling. Baking at a high temperature crisps the dough nicely.
- Can I prepare these ahead of time? Yes! Assemble and place on the baking sheet, then refrigerate until ready to bake. Just brush with oil or egg wash right before popping them in the oven.
Let’s See Your Pizza Pockets Shine!
So, what do you say—ready to make your own easy, cheesy pizza pockets? I can almost smell the bubbling cheese already! When you try out this recipe, please share your photos and tweaks with me. Follow me on Pinterest where I pin even more tasty recipes and fun cooking ideas. Let’s make cooking simple, delicious, and joyful together!
