
Hey There! Let’s Make Juicy Orange Roasted Chicken Together
If you love chicken dishes that are bursting with flavor but still super easy to make, you’re going to adore this orange roasted chicken recipe. I absolutely enjoy making it because the combination of crispy skin, juicy meat, and that tangy-sweet orange glaze feels like something special—yet it’s so simple! Whenever I whip this up, it gets rave reviews, and I bet you’ll feel the same way.
Why This Orange Roasted Chicken is a Winner
This recipe isn’t just tasty; it’s packed with good stuff too. Chicken thighs are my favorite because they stay juicy and tender, even if you’re rushing a bit in the kitchen. Plus, the fresh oranges add a lovely citrus zing and some vitamin C benefits. And that honey caramelizes to give you a delightful glaze, making your meal feel like an elegant restaurant dinner without the fuss.
How You Can Mix It Up: Variations to Try
- Make It Spicy: Add a pinch of red pepper flakes or a drizzle of hot sauce to the garlic and oil rub for a little kick.
- Herb Swap: Don’t have fresh thyme? Rosemary or oregano work beautifully too—they bring their own lovely fragrance.
- Sweetener Alternatives: Instead of honey or brown sugar, try maple syrup or agave nectar if you want a different kind of sweetness.
- Dairy-Free Creaminess: If you want a saucier finish, adding a spoonful of coconut milk or a dairy-free cream alternative to the pan juices at the end tastes amazing.
- Make it Gluten-Free: This recipe naturally is gluten-free, so it’s perfect if you’re avoiding gluten.
Delicious Orange Roasted Chicken Recipe
Ingredients
- 4 bone-in, skin-on chicken thighs
- 2-3 fresh oranges (zested, juiced, and sliced)
- 3-4 garlic cloves, minced
- 2-3 sprigs fresh thyme
- 2 tablespoons olive oil
- 1-2 tablespoons honey or brown sugar
- Salt, to taste
- Black pepper, freshly ground, to taste
- Optional: 1/4 cup chicken broth or water
Instructions
- First, preheat your oven to 400°F (200°C). This will get everything ready for roasting your chicken to perfection.
- Pat those chicken thighs dry with paper towels—this little step helps you get a wonderfully crispy skin.
- In a small bowl, mix your minced garlic, olive oil, salt, and pepper. Give the chicken thighs a good rub all over with this mixture. Trust me, it smells amazing already!
- Place the chicken thighs skin side up in an oven-safe dish or roasting pan.
- Slice one or two oranges thinly and tuck these slices around and under the chicken. Save a few slices if you want a pretty garnish later.
- Combine fresh orange juice from your remaining oranges with honey (or brown sugar), plus a pinch of salt and pepper. Pour this lovely mix evenly over and around the chicken in the pan.
- Lay sprigs of fresh thyme on top of the chicken thighs for that fresh herb aroma.
- If you want the meat extra moist or to create a tasty sauce, add about 1/4 cup chicken broth or water to the pan now.
- Pop the pan into your oven uncovered and roast for about 35-45 minutes. Check for golden-brown, crispy skin and make sure the internal temperature hits 165°F (74°C).
- Baste the chicken occasionally with the pan juices—this adds more flavor and gives a beautiful glaze.
- If the skin starts to brown too quickly, cover loosely with foil to avoid burning and keep cooking.
- Once done, remove from the oven and let your chicken rest for 5 minutes. Resting keeps it juicy by letting the juices settle back into the meat.
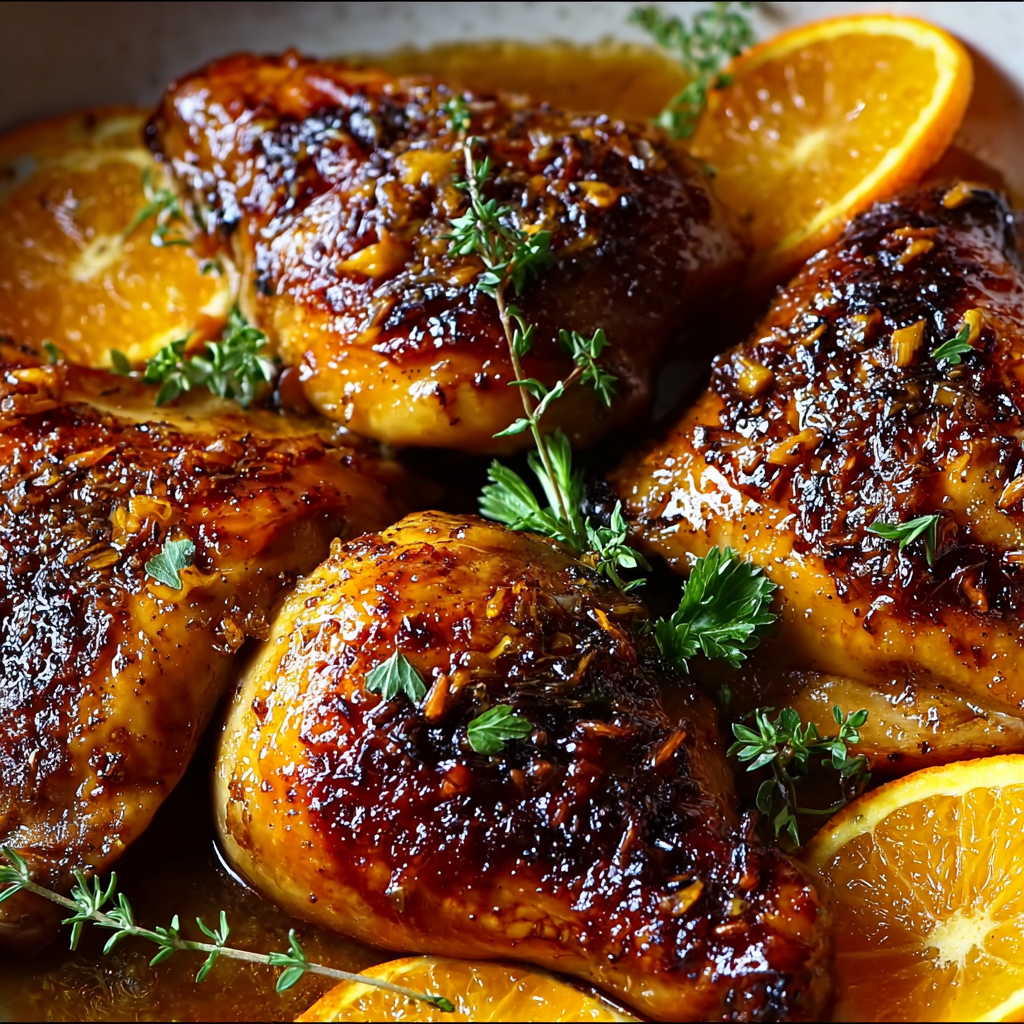
- Serve those gorgeous chicken thighs with pan sauce spooned on top, garnished with fresh orange slices and thyme sprouts.
Handy Tips To Keep In Mind
- Don’t skip patting the chicken dry before seasoning—that’s your ticket to crispy skin.
- Saving some orange slices for garnish makes your dish look extra special when you serve it.
- Use a meat thermometer if you have one—it’s the best way to know your chicken is perfectly cooked.
- If you want leftovers, store the chicken in an airtight container in the fridge for up to 3 days.
- Reheat gently in the oven or microwave so it stays moist and doesn’t dry out.
Equipment You’ll Need
- Oven-safe roasting pan or baking dish
- Sharp knife for slicing oranges
- Mixing bowl for seasoning
- Meat thermometer (optional but very handy!)
- Paper towels for drying the chicken
Frequently Asked Questions
- Can I use chicken breasts instead of thighs?
Yes, but keep in mind breasts may cook faster and won’t be as juicy. Adjust baking time accordingly and watch for dryness. - What’s the best way to keep the skin crispy?
Be sure to pat the chicken dry before seasoning and avoid covering the pan until the chicken is done. - Can I prepare this chicken ahead of time?
Absolutely! You can marinate the chicken in the garlic, orange juice, and honey mixture for a few hours in the fridge before roasting. - Can I add vegetables to the pan?
Yes! Roasted carrots, potatoes, or even Brussels sprouts make great additions. Place them around the chicken before roasting. - How do I store leftovers?
Place leftover chicken in an airtight container and store in the fridge up to 3 days. Reheat gently to keep moist.
Ready to Try This Orange Roasted Chicken?
Now that you have this simple but impressive recipe, I’d love for you to try it out and tell me how it goes! Snap a photo and share your delicious creation on Pinterest or social media—tag me so I can see your beautiful dishes. Happy cooking and enjoy every juicy, tangy bite!
