
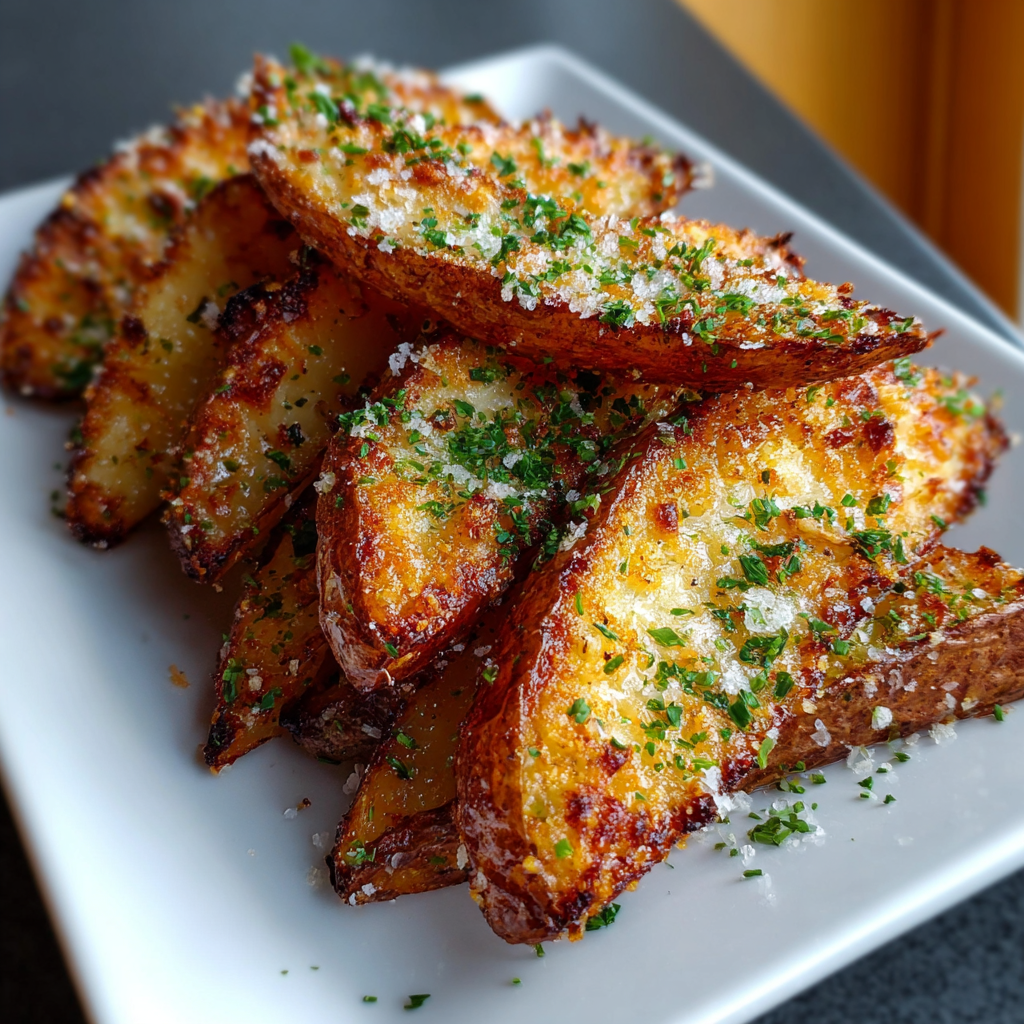
Perfect Crispy Parmesan Garlic Potato Wedges: A Recipe You’ll Love
Hey there! If you’re anything like me, potatoes are a total comfort food staple. There’s just something about golden, crispy wedges that feels so satisfying—whether as a snack or a side dish. I’ve got a simple, flavorful recipe for Parmesan garlic potato wedges that’s become a favorite in my kitchen. The best part? They’re super easy to make, with a crispy outside, tender inside, and a cheesy, garlicky punch that keeps everyone coming back for more. Let me walk you through it!
Nutritional Benefits of This Recipe
Now, I know potatoes sometimes get a bad rap, but russet potatoes are actually pretty nutritious. They’re a great source of vitamin C and potassium, which help with immune function and heart health. Leaving the skin on boosts the fiber content – that’s great for digestion. Plus, using olive oil instead of butter or heavy oils adds healthy fats, and Parmesan cheese adds a bit of protein and calcium without going overboard. So, you get a balanced treat that’s hearty and satisfying without guilt!
Ingredients
- 4 medium russet potatoes (washed and cut into wedges, skin on)
- 3 tablespoons olive oil
- 3 cloves garlic, minced (or 1.5 teaspoons garlic powder)
- 1/2 cup grated Parmesan cheese
- 1 teaspoon coarse sea salt (plus extra for finishing)
- 1/2 teaspoon freshly ground black pepper
- 2 tablespoons fresh parsley, finely chopped (for garnish)
Step-by-Step Cooking Instructions
- First, preheat your oven to 425°F (220°C). Line a baking sheet with parchment paper or lightly grease it so the wedges don’t stick.
- Wash your russet potatoes really well, then cut each one into 8 wedges. Keeping the skin on not only helps them crisp up beautifully but adds extra flavor and nutrients.
- In a large bowl, mix together the olive oil, minced garlic (or garlic powder if you prefer something simpler), grated Parmesan cheese, sea salt, and black pepper. This creates that delicious coating we want on every wedge.
- Add the potato wedges into the bowl and toss everything gently but thoroughly. You want each wedge to be fully covered in that tasty mixture.
- Arrange the wedges on your baking sheet in a single layer. Give them a little space so air can circulate, which helps with crispiness.
- Bake the wedges for about 30 to 35 minutes. Halfway through cooking, flip them over so both sides get golden and crispy.
- Once done, take them out and while they’re still hot, sprinkle on some extra coarse sea salt and freshly chopped parsley for that fresh, pretty finish.
- Serve these beauties warm – they are perfect alongside dinner or just as a delicious snack with your favorite dip. Trust me, they disappear fast!
Helpful Tips to Make Your Potato Wedges Amazing
- Don’t overcrowd the pan. Giving the wedges space on the baking sheet is key to getting them crispy. If they’re too close, they steam instead.
- Use a sharp knife for cutting. Clean, even wedges cook more evenly, so take your time here.
- Want extra crispiness? After coating, let the wedges sit for 5-10 minutes before baking. This helps the starches settle and improves the texture.
- Overnight prep option: Toss the wedges with seasoning, cover, and refrigerate overnight. Bake directly from the fridge the next day for a quick, flavorful side dish.
Equipment Needed
Here’s what you’ll want to have handy before you get started:
- A sharp chef’s knife (for cutting those wedges)
- A large mixing bowl (to toss everything together)
- Baking sheet (lined with parchment paper or greased)
- Measuring spoons and cups
- Grater (if you have a block of Parmesan cheese)
- Spatula or tongs (to flip the wedges halfway through baking)
Adaptable Variations to Try
I love that this recipe is so versatile—don’t hesitate to tailor it to your taste or dietary needs!
- Vegan option: Simply skip the Parmesan cheese or swap it for nutritional yeast to get a similar cheesy flavor without dairy.
- Spice it up: Add a pinch of smoked paprika or chili powder to the seasoning mix for a smoky, spicy kick.
- Herb swap: Rosemary or thyme work beautifully instead of parsley, adding fresh, aromatic notes.
- Different potatoes: Feel free to experiment with sweet potatoes or Yukon golds; just watch the cooking time as they can vary.
Frequently Asked Questions
- Can I use frozen potato wedges? For the crispiest results, fresh potatoes are best. Frozen ones can be used but expect a softer texture.
- What if I don’t have fresh garlic? Garlic powder is a fantastic substitute and makes prep even quicker.
- How can I tell when the wedges are done? They should be golden brown on the edges and tender inside when pierced with a fork.
- Can I prepare these ahead of time? Absolutely! Toss and season the wedges the night before, keep chilled, then bake when you’re ready.
- How should I store leftovers? Let the wedges cool completely, then store in an airtight container in the fridge for up to 3 days. Reheat in the oven for best crispness.
Give This Recipe a Try and Share Your Experience!
I hope you’re as excited as I am to make these crispy Parmesan garlic potato wedges! They’re comfort food done right—simple ingredients, bold flavor, and the perfect texture. If you give this recipe a go, I’d love to hear how it turned out for you. Don’t forget to pin it on Pinterest and share it with friends so everyone can enjoy a little extra cheesy goodness in their lives!
