
Welcome to My Cozy Cinnamon Buns Recipe!
Hey there! If you love the smell of fresh-baked cinnamon buns filling your kitchen, you’re in the right place. I’m super excited to share my favorite cinnamon buns recipe with you—it’s soft, sweet, and just the right amount of gooey. Believe me, once you try these, you’ll see why I keep coming back to this recipe again and again. Plus, it’s pretty straightforward, so even if you don’t consider yourself a baker, you can impress your friends and family with these delicious buns!
Why These Cinnamon Buns Are So Great (And Good For You!)
Now, before we get to the recipe, let me share why cinnamon buns don’t have to be just a guilty pleasure. Cinnamon has some great health benefits like helping to regulate blood sugar and fight inflammation. Plus, this recipe uses honey both in the filling and the glaze, which adds natural sweetness and gives a nice depth of flavor. I like choosing real ingredients like unsalted butter and fresh vanilla for the glaze to keep things wholesome and flavorful.
Fun Ways to Customize Your Cinnamon Buns
One of the best things about this recipe is how easy it is to switch things up. Here are a few ideas you might want to try:
- Nutty Delight: Add chopped pecans or walnuts into the filling for a lovely crunch.
- Go Fruity: Sprinkle some raisins or dried cranberries inside the roll for bursts of sweetness.
- Vegan Version: Swap the milk for almond or oat milk, use plant-based butter, and instead of egg, try a flax egg (1 tbsp flaxseed meal + 2.5 tbsp water, let sit 5 min).
- Spice It Up: Mix a pinch of nutmeg or cardamom with the cinnamon for an aromatic twist.
Feel free to get creative! Baking is all about making it your own.
Step-By-Step Cinnamon Buns Recipe
Ingredients You’ll Need
- 4 cups all-purpose flour
- 2 1/4 tsp active dry yeast (1 packet)
- 1 cup warm milk (about 110°F / 43°C)
- 1/3 cup granulated sugar
- 1/4 cup unsalted butter, melted (plus extra for filling)
- 1 large egg
- 1 tsp salt
- 1 cup brown sugar (for filling)
- 2 tbsp ground cinnamon (for filling)
- 1/4 cup softened unsalted butter (for filling)
- 2 tbsp honey (for filling and glaze)
For the glaze:
- 1 to 1 1/2 cups powdered sugar
- 2 tbsp honey
- 1 1/2 tsp vanilla extract
- 2 to 3 tbsp milk or cream
Instructions
- Start by dissolving the yeast in the warm milk in a small bowl. Let it sit 5 to 10 minutes until nice and foamy—that’s the yeast waking up and ready to work!
- In a large mixing bowl, mix the melted butter, granulated sugar, egg, and salt together until smooth and combined.
- Pour in the yeast mixture, stirring gently. Then slowly add the flour, mixing until a soft and slightly sticky dough forms.
- Turn the dough onto a floured surface and knead for about 8 to 10 minutes. This builds elasticity and gives the buns their soft texture.
- Place your dough in a greased bowl, cover it with a clean towel or plastic wrap, and let it rise in a warm spot until it doubles in size. This should take about 1 to 1 1/2 hours.
- While your dough is rising, mix together the softened butter, brown sugar, cinnamon, and honey until it feels like a delicious paste. This filling is what makes these buns irresistible!
- After your dough has risen, gently punch it down to release the air. Roll it out on a floured surface into a large rectangle about 12 x 18 inches.
- Spread the cinnamon filling evenly over the dough, making sure to cover every inch.
- Carefully roll the dough from the long side into a tight log. Pinch the seam to seal it shut so the filling stays inside.
- Slice your log into 10 to 12 equal-sized buns and place them on a greased baking sheet or pan with a bit of space between each one.
- Cover the buns again and let them rise for another 30 to 45 minutes until puffy and soft.
- Preheat your oven to 350°F (175°C) while they’re rising.
- Bake the buns for 20 to 25 minutes until they are golden brown and cooked through.
- While the buns are baking, whisk together the powdered sugar, honey, vanilla extract, and milk or cream to make your glaze. Adjust the milk to get the glaze just pourable but not too runny.
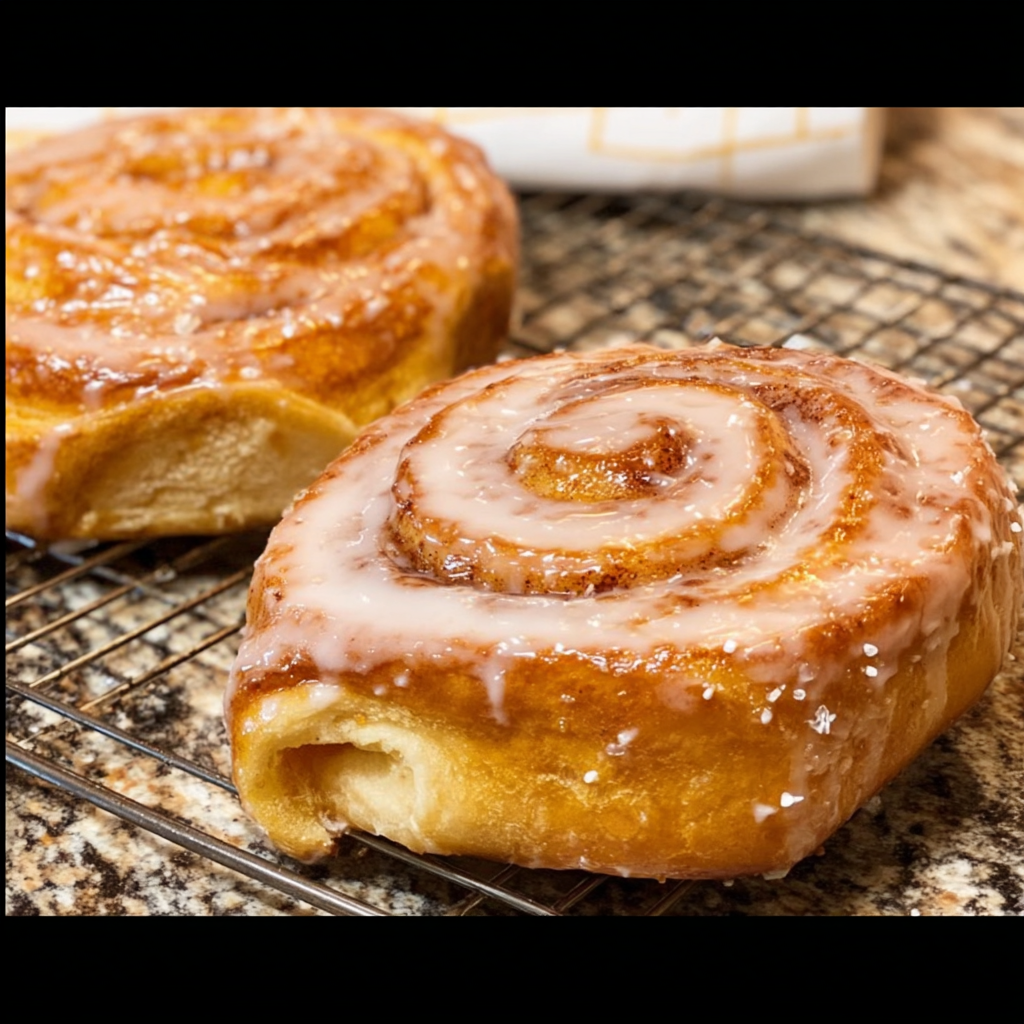
- When the buns come out of the oven, quickly pour or brush the glaze over each warm bun. This glaze sets to a perfect sweet finish as they cool.
- Transfer your cinnamon buns to a cooling rack and let that glaze set for a little while before diving in!
Helpful Tips for Perfect Cinnamon Buns
- Knead well: Don’t rush kneading; it makes the dough soft and the buns fluffy.
- Keep the milk warm: Too hot or too cold can kill the yeast, so aim for about 110°F (warm but not hot).
- Make ahead: These buns freeze wonderfully. Wrap slices tightly in plastic wrap and foil, then freeze. Thaw at room temp and warm in the oven.
- Serving suggestion: These buns are amazing fresh – try them with a cup of coffee or tea for the ultimate cozy treat.
- Use room temperature ingredients: It helps the dough come together easier and the yeast to activate better.
Equipment You’ll Need
- Large mixing bowl
- Small bowl for activating yeast
- Measuring cups and spoons
- Rolling pin
- Greased baking sheet or lined pan
- Whisk for mixing glaze
- Cooling rack (optional but ideal)
Frequently Asked Questions
- Can I make the dough in a stand mixer? Yes! Use the dough hook attachment and knead for about 6-8 minutes on medium speed.
- What if my buns aren’t rising? Double-check that your yeast is fresh and your milk wasn’t too hot. Also, make sure they’re rising in a warm spot.
- Can I use light brown sugar instead of dark? Absolutely! It will just make the filling a little milder in flavor.
- How long do these buns stay fresh? Store them in an airtight container at room temperature. They’re best eaten within 2-3 days.
- Can I skip the glaze? Sure! The buns are still delicious without it, but the glaze adds that sticky, sweet finish that makes them so special.
Ready to Bake Your Own Batch? Let’s Do It!
I really hope you enjoy baking and eating these cinnamon buns as much as I do! They’re perfect for weekend breakfasts or special occasions. If you give this recipe a try, don’t forget to pin it on Pinterest and share your cinnamon bun pics—I’d love to see how yours turn out. Happy baking!
