
Welcome to Your New Favorite Fall Dessert!
Hey there! Are you ready to fall in love with dessert all over again? I can’t wait to share this dreamy recipe for Caramel Apple Cheesecake Bars. Just the thought of creamy cheesecake, warm apples, and luscious caramel drizzled on top has me craving a slice! This is the perfect treat to whip up on a cozy weekend, or when friends come over, and the best part? It’s surprisingly easy to make!
Nutritional Benefits
Now, I know desserts can be a guilty pleasure, but there’s a little fun in knowing that apples—one of the stars of this recipe—are packed with vitamins and fiber. They can promote heart health and even help with digestion. Plus, when you make this cheesecake at home, you control the sugar level. If you want it extra creamy, a splash of sour cream (or heavy cream) adds richness without being overly indulgent. It’s all about balance, right?
Creative Variations
- Switch Up the Fruit: Not a fan of apples? No worries! You can use pears or even fresh berries for a different fruity twist.
- Nut-Free Option: If you need to avoid nuts, just leave out the chopped nuts in the streusel topping or replace them with oats for added texture.
- Dairy-Free Delight: Use dairy-free cream cheese and a plant-based butter substitute if you want to make this a dairy-free treat!
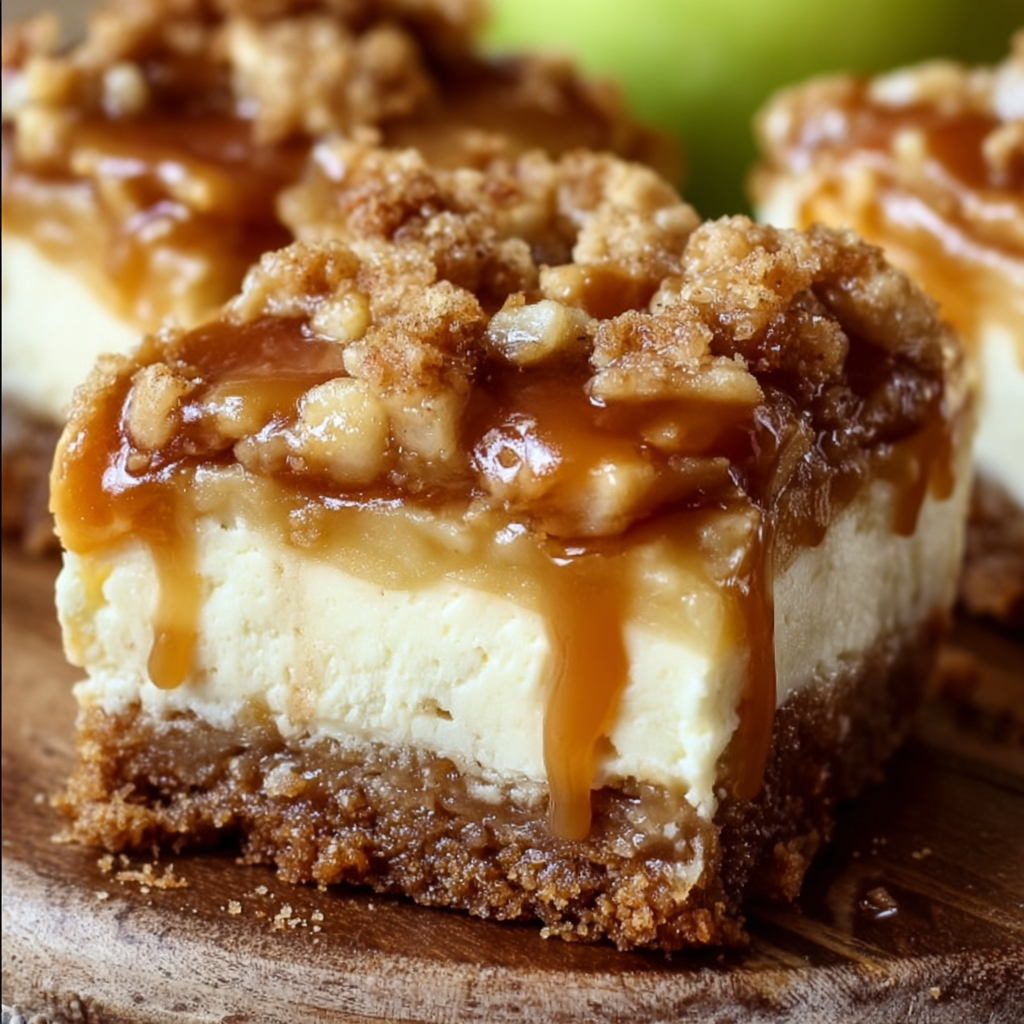
Delicious Caramel Apple Cheesecake Bars Recipe!
Ingredients
- 1 ½ cups graham cracker crumbs
- ½ cup brown sugar (for crust)
- 6 tablespoons unsalted butter, melted (for crust)
- 16 oz (2 packages) cream cheese, softened
- ¾ cup granulated sugar
- 2 large eggs
- 1 teaspoon vanilla extract
- ½ cup sour cream or heavy cream (optional, for creaminess)
- 2 medium apples (e.g., Granny Smith or Honeycrisp), peeled, cored, and diced
- 3 tablespoons unsalted butter (for sautéing apples)
- ¼ cup brown sugar (for apples)
- 1 teaspoon ground cinnamon (divided between apples and streusel)
- Pinch of nutmeg (optional, for apples)
- ½ cup caramel sauce (store-bought or homemade)
- 1 cup all-purpose flour (for streusel)
- ½ cup brown sugar (for streusel)
- ½ cup chopped nuts (walnuts or pecans)
- 6 tablespoons cold unsalted butter, cut into small cubes (for streusel)
Serves 8–10 people
- Standard slice size → about 10 servings
- Slightly larger dessert portions → about 8 servings
Cooking Instructions
- Let’s get started! Preheat your oven to 325°F (163°C). Line a 9×9 inch baking pan with parchment paper, letting some hang over the edges for easy removal. This little hack makes everything so much easier!
- In a medium bowl, combine the graham cracker crumbs, ½ cup of brown sugar, and melted butter. Mix well until everything is coated and holds together when pressed. Firmly press this mixture into the bottom of your prepared pan. Bake for about 8-10 minutes until it’s set and smells divine. Let it cool slightly.
- While that’s happening, grab a large mixing bowl and beat the softened cream cheese until smooth. Add the granulated sugar and keep mixing until creamy (trust me, you don’t want lumps!).
- Now, add eggs one at a time, mixing well after each addition. Stir in the vanilla extract and the sour cream or heavy cream if you’re using it. Pour this gorgeous cheesecake mixture evenly over your cooled crust.
- Bake this layer for 25-30 minutes until the edges are set but the center is still slightly jiggly—this means it’s just right! Let it cool at room temperature, then refrigerate for at least an hour to firm it up.
- While the cheesecake cools, let’s make the apples. In a skillet, melt 3 tablespoons of butter over medium heat. Toss in the diced apples, ¼ cup brown sugar, ½ teaspoon cinnamon, and a pinch of nutmeg, if using. Cook for about 5-7 minutes until the apples are tender but not mushy—yum!
- Once your cheesecake is chilled and those beautiful apples are cooked, spread the apples evenly over the cheesecake, then drizzle that glorious caramel sauce generously over the top.
- Now, let’s create the streusel topping! In a bowl, combine the flour, ½ cup brown sugar, the remaining ½ teaspoon cinnamon, and chopped nuts. Cut in the cold butter until the mixture resembles coarse crumbs. This smells heavenly!
- Sprinkle the streusel evenly over the caramel and apples. You can bake these bars for an additional 10-12 minutes to slightly set the streusel, or if you want them firm without extra baking, just pop them in the fridge.
- Let everything chill in the fridge for at least 2 hours before slicing into squares. They’re so worth the wait—sweet, creamy, and utterly delicious!
Helpful Tips for Your Baking Adventure
- Want your cheesecake bars to be cut into perfect squares? Use a sharp knife dipped in warm water for those clean cuts!
- If you’re short on time, you can use store-bought caramel sauce instead of making it from scratch.
- These bars store well in the fridge, so feel free to make them a day ahead of time. Just keep them covered!
Equipment You’ll Need
Here’s what you’ll want to have on hand:
- A 9×9 inch baking pan
- Parchment paper (for easy removal)
- Mixing bowls for your ingredients
- A whisk and a spatula for smooth mixing
- A skillet for cooking the apples
- A sharp knife for cutting those beautiful bars
- An optional pastry cutter for the streusel topping
Frequently Asked Questions
- Can I make these bars ahead of time? Absolutely! They stay fresh in the fridge for up to 3 days.
- Can I use frozen apples instead of fresh? While fresh is best, you can use thawed frozen apples. Just ensure they’re well-drained before cooking.
- Do I really need to chill the cheesecake bars? Yes! Chilling helps the layers set perfectly and makes the bars easier to cut and serve.
- What should I serve these with? A dollop of whipped cream or a scoop of vanilla ice cream makes a delightful addition!
- Can I switch the nuts in the streusel? Yes! Feel free to use your favorite nuts or leave them out for a nut-free option.
Share the Love!
I hope you’re as excited as I am to make these Caramel Apple Cheesecake Bars! They’re truly a sweet piece of heaven. If you enjoy this recipe, I would absolutely love to see your creations! Please tag me on Pinterest with your delicious photos. Happy baking!
