
Welcome to Cookie Heaven!
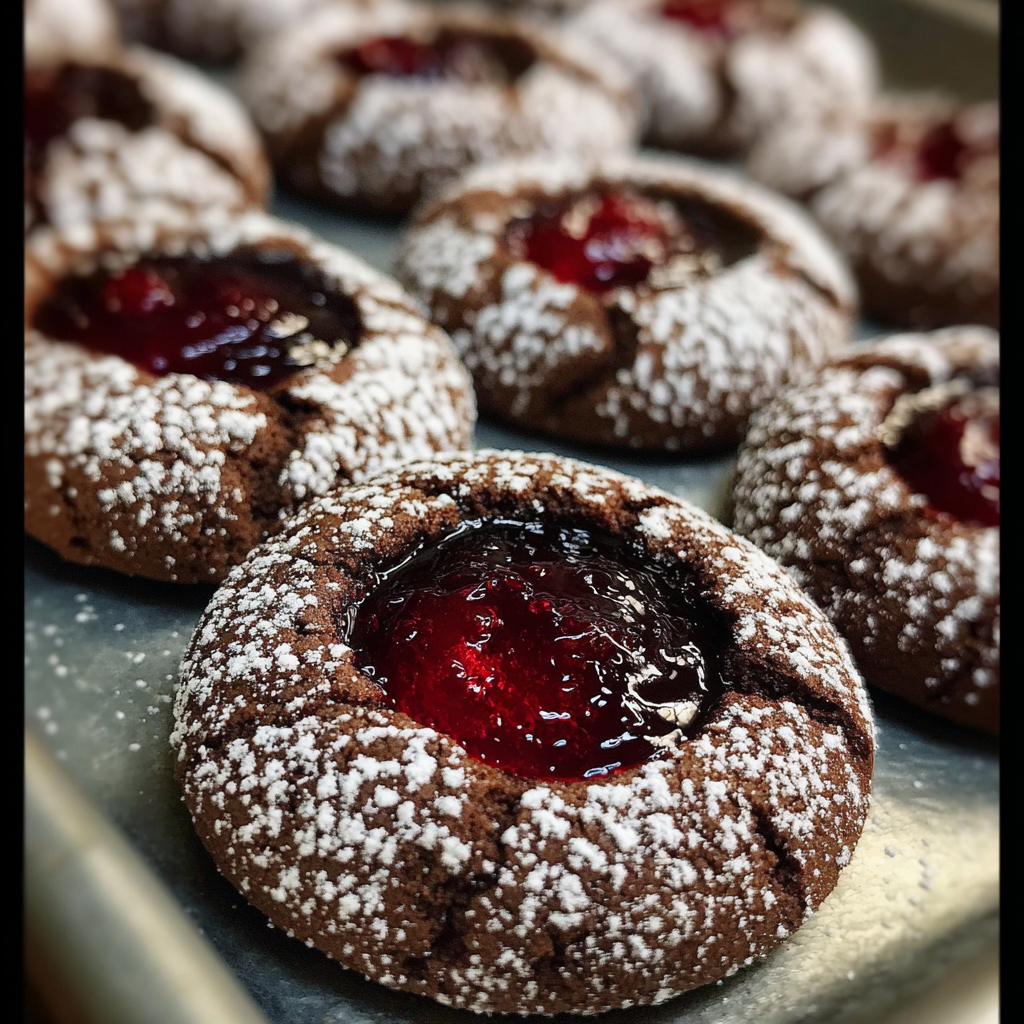
Hey there, cookie lover! If you’re a fan of rich chocolate, sweet cherries, and a touch of creaminess, then you’re in for a treat with these Black Forest Thumbprint Cookies. Every bite feels like a little indulgence, combining those classic flavors that remind us of the beloved Black Forest cake. Trust me, these cookies can easily become your new favorite. So, let’s dive into this deliciousness together!
Nutritional Benefits
While cookies are often seen as a guilty pleasure, homemade versions like this can have some redeeming qualities! For starters, you control the ingredients and can choose a thoughtful balance. Using high-quality cocoa powder can give you antioxidants, while the butter provides essential fats. Plus, cherries are not just delicious; they’re packed with vitamins and may help with inflammation and recovery. So when you enjoy these cookies, you can feel a little better about indulging!
Fun Variations to Try
- Different Jams or Preserves: If cherries aren’t your thing, swap out the cherry jam for raspberry or strawberry jam. It’s a fun way to change the flavor profile!
- Nutty Crunch: Add a handful of chopped nuts like walnuts or pecans into the dough for an extra crunch and a rich nutty flavor.
- Gluten-Free Option: Try using a gluten-free flour blend if you need to cut out gluten. It works wonderfully with this recipe!
Delicious Black Forest Thumbprint Cookies Recipe
Prep Time: 20 minutes
Cook Time: 10–12 minutes
Total Time: 30–35 minutes
Servings: 20–24 cookies (approx.)
Ingredients
- 1 cup unsalted butter, softened
- 1 cup granulated sugar
- 1 large egg
- 2 teaspoons vanilla extract
- 2 cups all-purpose flour
- 1/3 cup unsweetened cocoa powder
- 1 teaspoon baking powder
- 1/2 teaspoon salt
- 1/2 cup chocolate chips (for drizzling)
- 1/2 cup cherry jam
- Powdered sugar (for dusting)
Instructions
- Preheat your oven to 350°F (175°C) and line a baking sheet with parchment paper. This ensures your cookies don’t stick and makes cleanup a breeze!
- In a large mixing bowl, beat together the softened butter and granulated sugar until the mixture turns light and fluffy. It should look creamy and delightful!
- Crack in your egg and add the vanilla extract. Mix until everything is well incorporated. Your kitchen will start to smell amazing!
- In a separate bowl, whisk together the all-purpose flour, cocoa powder, baking powder, and salt. This will help keep everything light and fluffy.
- Now, gradually add the dry ingredients to the wet ingredients. Mix until you get a soft dough. Try not to overmix; we want tender cookies!
- Scoop about a tablespoon of the dough and roll it into a ball. Place it on your prepared baking sheet. Don’t crowd them; give them space to spread a bit.
- Using your thumb or the back of a small spoon, create an indentation in each cookie ball. This is where the cherry jam will go!
- Fill each indentation with a teaspoon of cherry jam. Don’t be shy; this is the best part!
- Bake the cookies in the preheated oven for about 10-12 minutes. You want the edges to be set while the centers remain a little soft.
- Once done, take them out and let them cool on the baking sheet for a few minutes before transferring them to a wire rack to cool completely.
- While your cookies cool, melt the chocolate chips in a microwave-safe bowl. Stir in 30-second intervals, so they don’t burn—smooth and melty is key!
- Once the cookies are cool, drizzle the melted chocolate over them in a decorative pattern. This just makes everything look more delicious!
- For a final touch, dust with powdered sugar for a sweet snowy effect!
- Serve them up and enjoy your amazing Black Forest Thumbprint Cookies!
Practical Tips
- If you’re preparing these cookies ahead of time, just store them in an airtight container to keep their freshness!
- Thinking of making a big batch? They freeze beautifully! Just wrap them individually and pop them in the freezer—perfect for when you need a sweet fix.
- Not a fan of powdered sugar? You can skip it or use cocoa powder for a twist!
Equipment Needed
Here’s a quick list of what you’ll need to make these cookies:
- A large mixing bowl
- A whisk for mixing the dry ingredients
- A baking sheet lined with parchment paper
- A cookie scoop or tablespoon for portioning the dough
- A cooling rack for cooling the cookies
- A microwave-safe bowl for melting chocolate
Frequently Asked Questions
- Can I use salted butter instead of unsalted? Yes, but if you do, reduce the added salt in the recipe.
- Can I make these cookies ahead of time? Absolutely! You can prepare the dough and refrigerate it for up to 2 days before baking.
- What if I don’t have cocoa powder? You can replace it with extra flour but expect a different flavor; maybe try adding vanilla instead?
- How long do these cookies last? They stay fresh for about a week in an airtight container, or longer if you freeze them!
- Can I use fresh cherries instead of jam? You can, but they won’t have the same sweet consistency. If you do, consider cooking them down with a bit of sugar!
Let’s Wrap This Up!
So, what do you think? I hope you’re just as excited as I am to bake and enjoy these Black Forest Thumbprint Cookies! They’re perfect for sharing, gifting, or just treating yourself after a long day. Remember, I’d love to hear how yours turn out, so snap a picture and share it with me on Pinterest. Let’s keep the cookie love going!
