
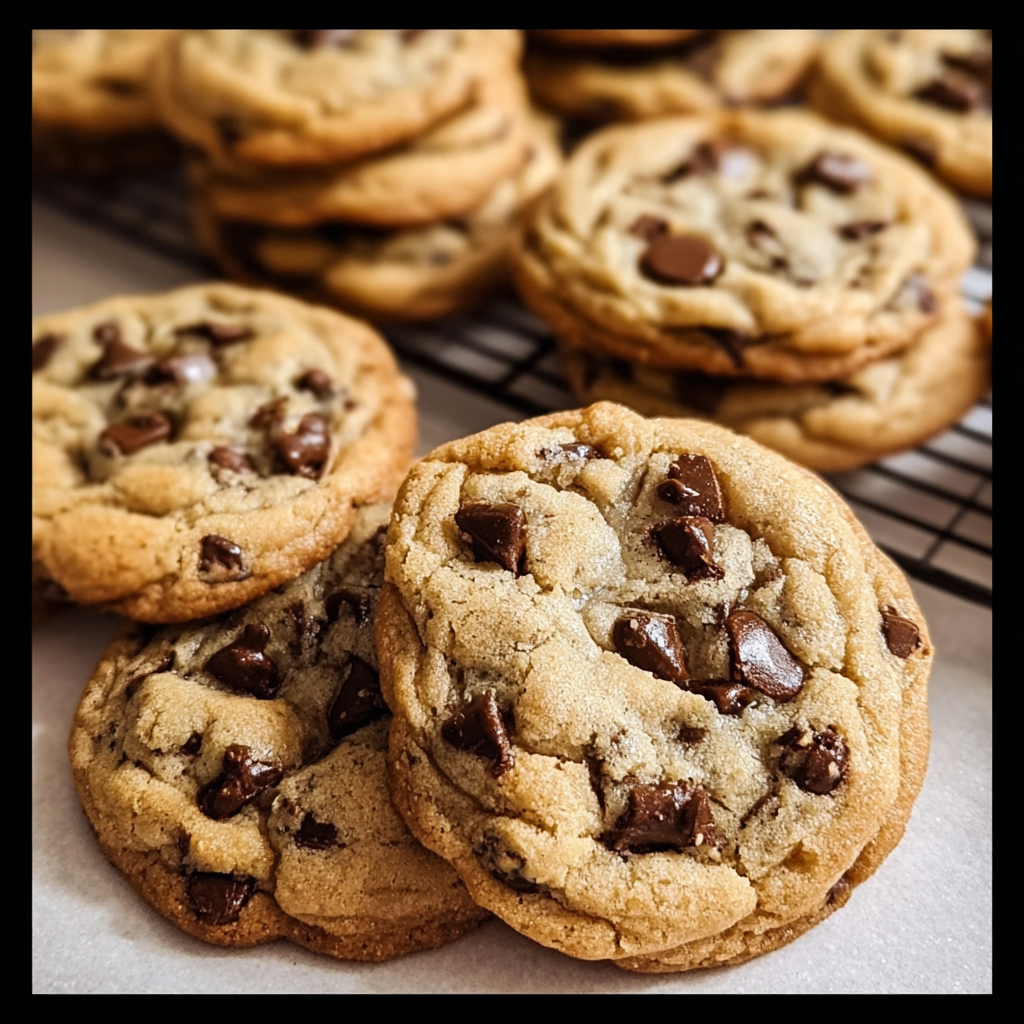
Welcome to the World of Soft & Chewy Chocolate Chip Cookies!
Hey there, cookie lovers! If there’s one treat that brings back the sweetest memories of home and comfort, it’s a warm, gooey chocolate chip cookie. I can’t even count how many times I’ve made these for friends, family, or just for a little indulgence on a rainy day. What I love most is how incredibly simple they are — you don’t need any crazy ingredients, just some pantry staples and a little love. Ready to dive into baking bliss? Let’s do it!
Why You’ll Love These Cookies
These chocolate chip cookies are not just delicious but have some fantastic benefits! First off, let’s talk about the nutritional upsides. While cookies aren’t exactly health food, they do offer a bit of joy! When made at home, you can control the sugar and choose high-quality chocolate, which packs some antioxidants. Plus, adding the optional cornstarch helps create an extra soft texture — and who doesn’t love a soft, chewy cookie?
Creative Variations for Everyone
- Mix It Up With Nuts: Want some crunch? Toss in some chopped walnuts or pecans for a delightful twist.
- Gluten-Free? No Problem!: Use a 1:1 gluten-free flour blend instead of all-purpose flour. It works like a charm!
- Sweet and Salty: Try sprinkling a pinch of sea salt on top just before baking for that extra flavor hit.
- Less Sugar, Still Delicious: You can reduce the sugars by about 1/4 cup if you prefer a less sweet cookie. They’ll still taste great!
- Add a Flavor Boost: A teaspoon of espresso powder blended into the dry ingredients can enhance the chocolate flavor beautifully.
Perfect Chocolate Chip Cookie Recipe
Ingredients
- 2 1/4 cups all-purpose flour
- 1/2 teaspoon baking soda
- 1/2 teaspoon salt
- 1/2 teaspoon cornstarch (optional, for soft texture)
- 3/4 cup unsalted butter, melted and slightly cooled
- 1 cup packed brown sugar
- 1/2 cup granulated sugar
- 1 large egg
- 1 large egg yolk
- 2 teaspoons vanilla extract
- 1 1/2 cups semi-sweet chocolate chips
Servings
Makes 18–24 cookies (serves about 8–12 people)
Step-by-Step Instructions
- First things first, preheat your oven to 350°F (175°C). Go ahead and line a baking sheet with parchment paper for easy cleanup.
- In a medium bowl, whisk together the flour, baking soda, salt, and cornstarch if you’re using it. Set that aside for now.
- In a large mixing bowl, combine the melted butter with the brown sugar and granulated sugar. Stir it all together until it becomes smooth and creamy.
- Add the whole egg, egg yolk, and vanilla extract to this tasty butter-sugar mix. Keep mixing until everything is fully incorporated — the aroma will be heavenly!
- Gradually add your dry ingredients to the wet mix. Be careful not to over-mix; this keeps those cookies tender.
- Now comes the best part — gently fold in the chocolate chips so they’re evenly spread through the dough.
- For wonderfully soft cookies, chill your dough in the fridge for at least 30 minutes to 1 hour. This step is totally recommended, but if you’re in a hurry, you can skip it!
- Using a cookie scoop or just a spoon, drop rounded balls of dough (about 2 tablespoons each) onto your prepared baking sheet. Leave some space between them, as they will spread while baking.
- Bake those beauties for 10-12 minutes. You want the edges to be golden brown while the centers remain soft. They might look slightly underdone, but trust me, they will firm up as they cool.
- Once baked, let the cookies cool on the baking sheet for about 5 minutes. Then, transfer them to a wire rack to cool completely or dig in while they’re warm and gooey!
Practical Tips for Perfect Cookies
- Storing: Keep your cookies in an airtight container at room temperature for about a week. You can also freeze them for up to three months — just make sure they are wrapped tightly.
- Serving: These cookies are perfect with a glass of cold milk or your favorite coffee for a delightful afternoon treat.
- Don’t want to scoop? Shape the dough into logs and slice them for perfectly uniform cookies!
- If you like your cookies a bit crispy, leave them in the oven for a minute or two longer—but keep an eye on them!
- Use quality chocolate chips — the better the chocolate, the better the cookies!
Equipment Needed
Here’s the essential equipment you’ll need to whip up your cookies:
- A mixing bowl (for the wet ingredients)
- A separate bowl for the dry ingredients
- A whisk (to mix it all together nicely)
- Cookie scoop or spoon
- Baking sheet lined with parchment paper
- A wire rack for cooling
Frequently Asked Questions
- Can I use margarine instead of butter? While you can, butter gives a richer flavor, so I recommend sticking with unsalted butter.
- Are these cookies chewy or crispy? They’re soft and chewy if you follow the chilling step and don’t over-bake!
- What if I don’t have cornstarch? No worries! Just leave it out—it will still be delicious.
- How should I store the cookies? Store them in an airtight container to keep them nice and fresh for longer.
- Can I double the recipe? Absolutely! Just make sure you have enough space on your baking sheets to accommodate all those delicious cookies!
Let’s Share Some Cookie Love!
After baking, I’d love to hear how your cookies turned out! Did you try any tasty variations? Connect with me on Pinterest for more delightful recipes and share your cookie creations. Let’s spread the love for homemade cookies together!
